ANTHONY MORRISON
Home
RCHS
Orientation to Technology
Stem 1
Stem 2
About
Contact
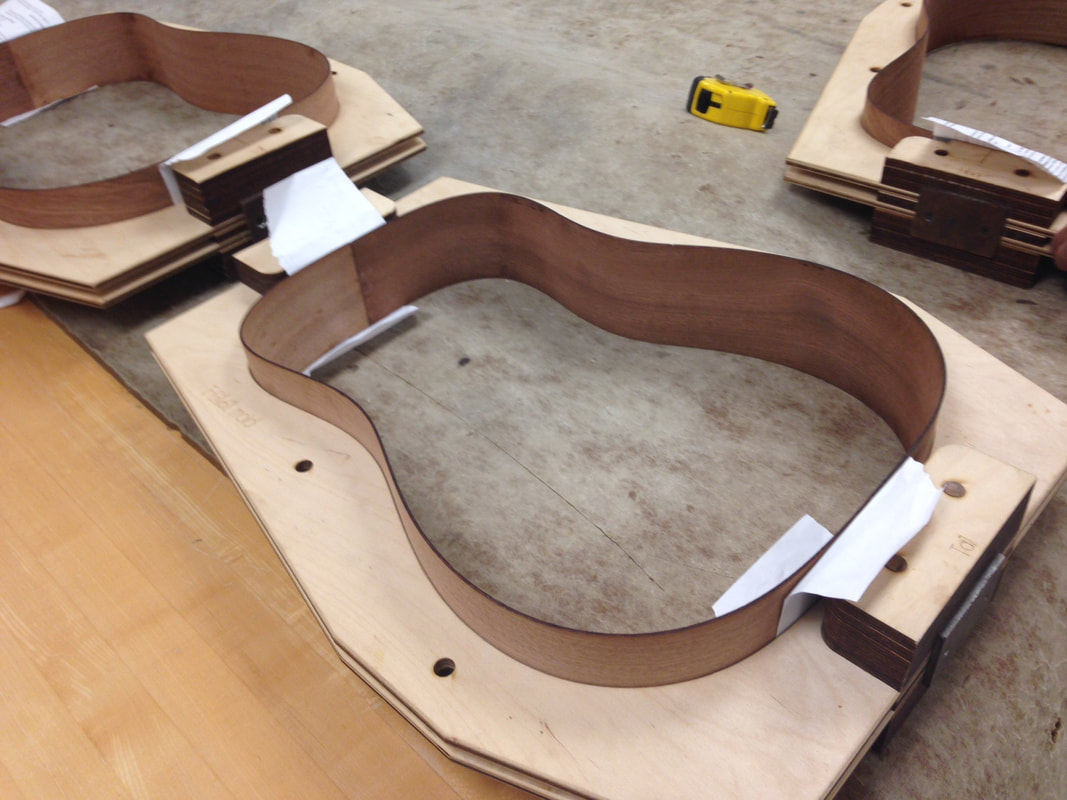
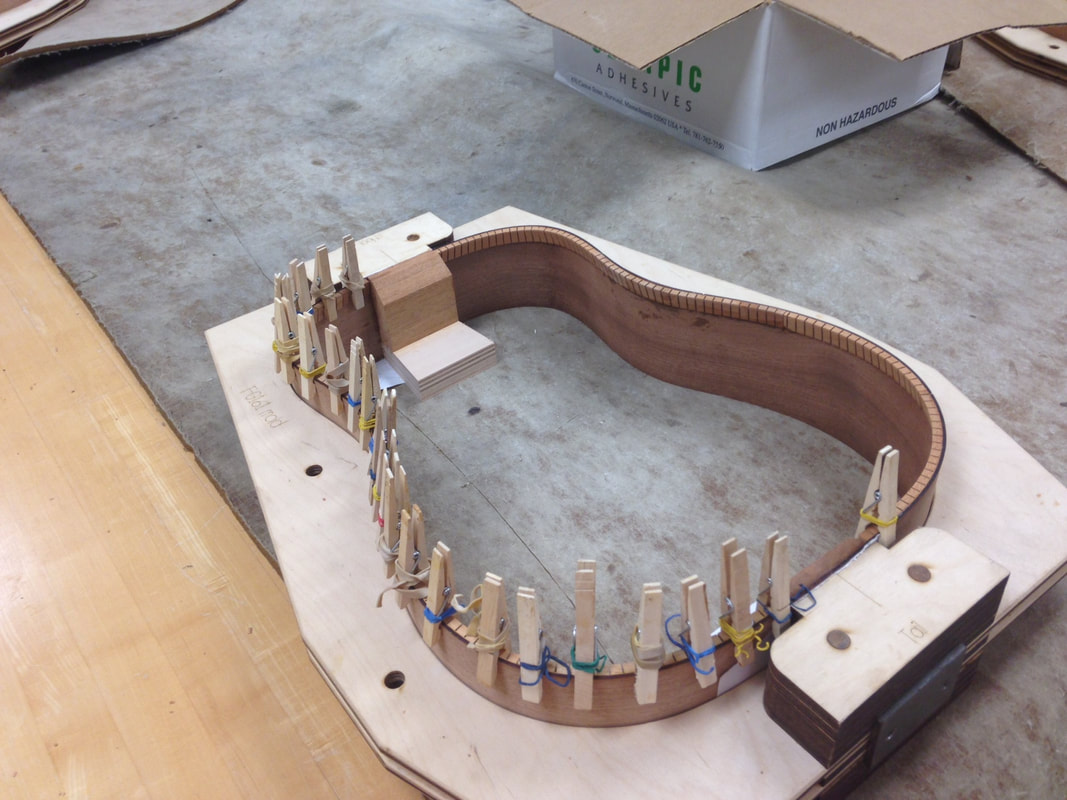
Beginning of the assembly of our guitar shell.
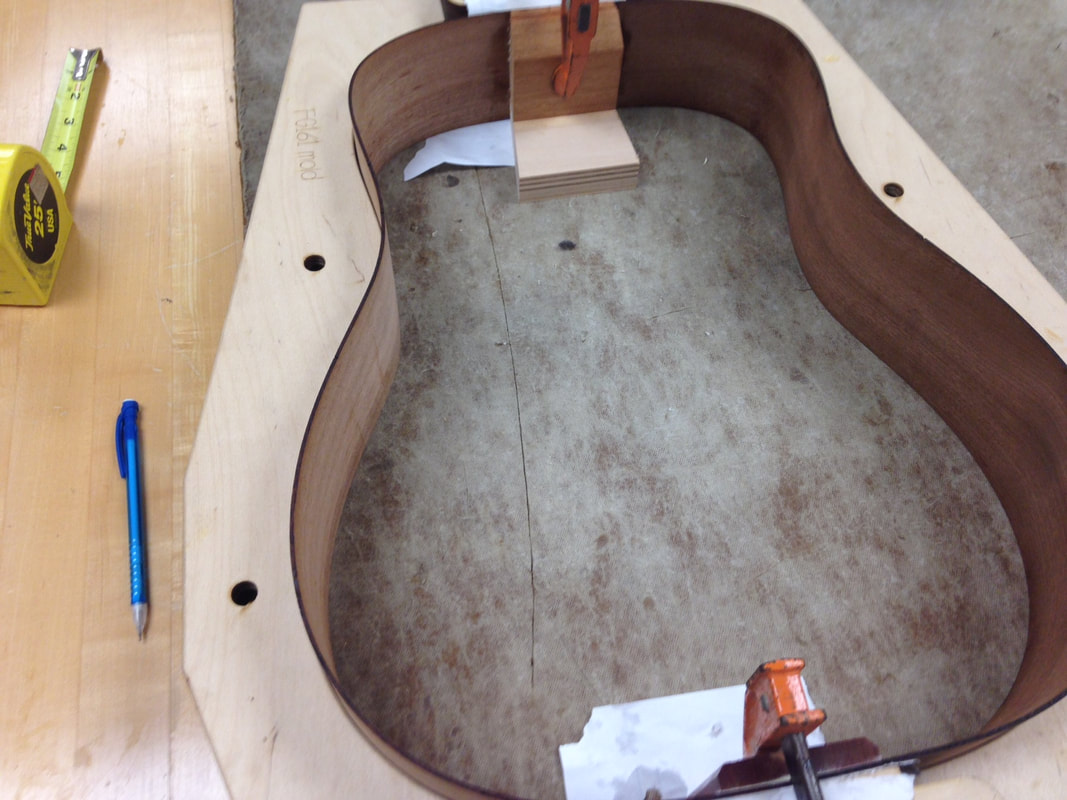
Gluing on the blocks that hold the shell in place.
Gluing on our kerfing.
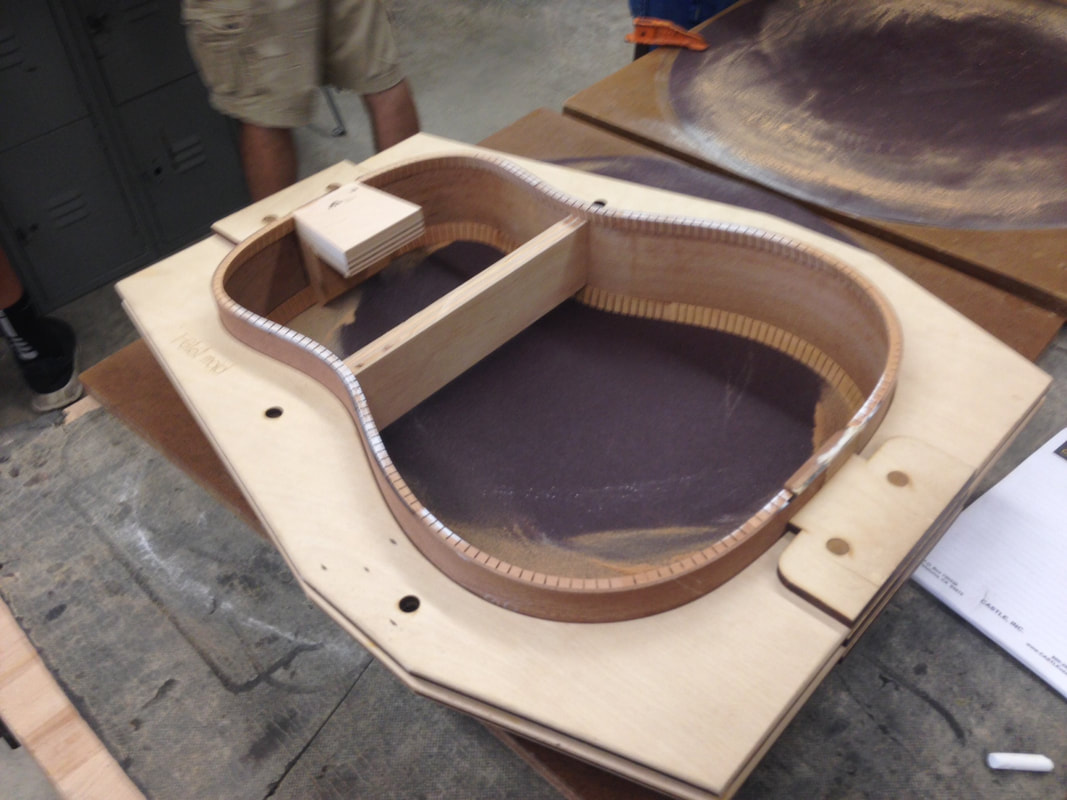
Sanding down our sides to be flush.
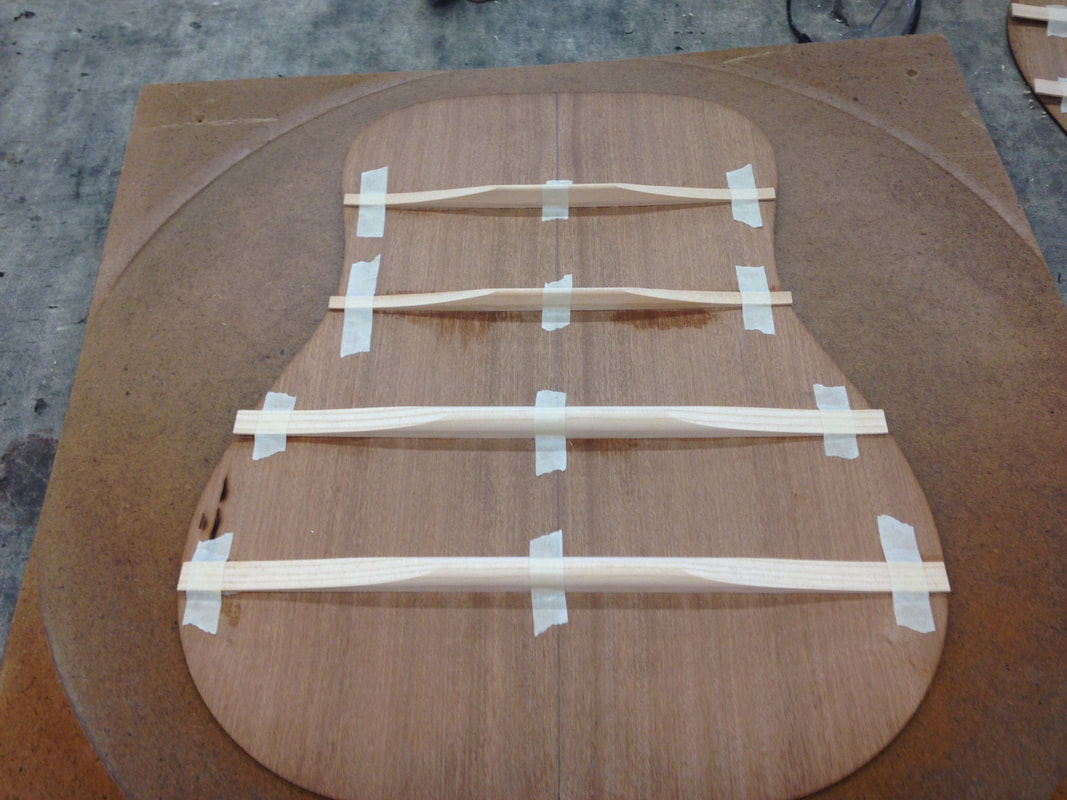
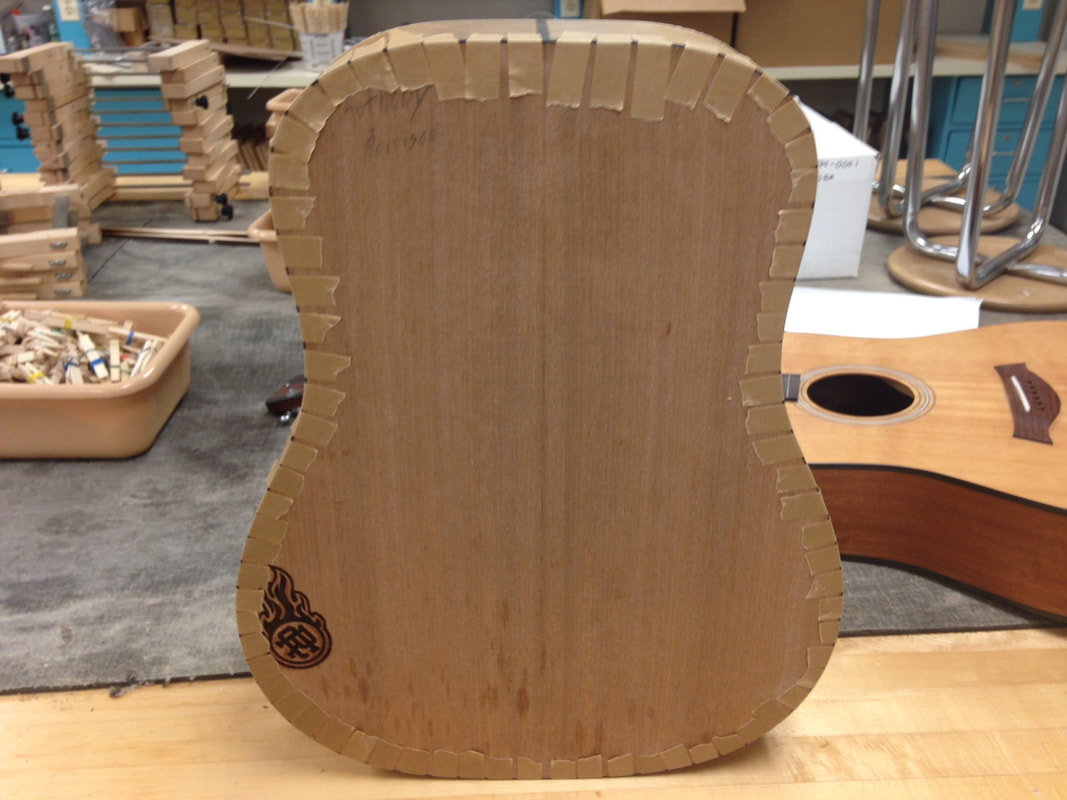
Gluing on the parts of our backs.
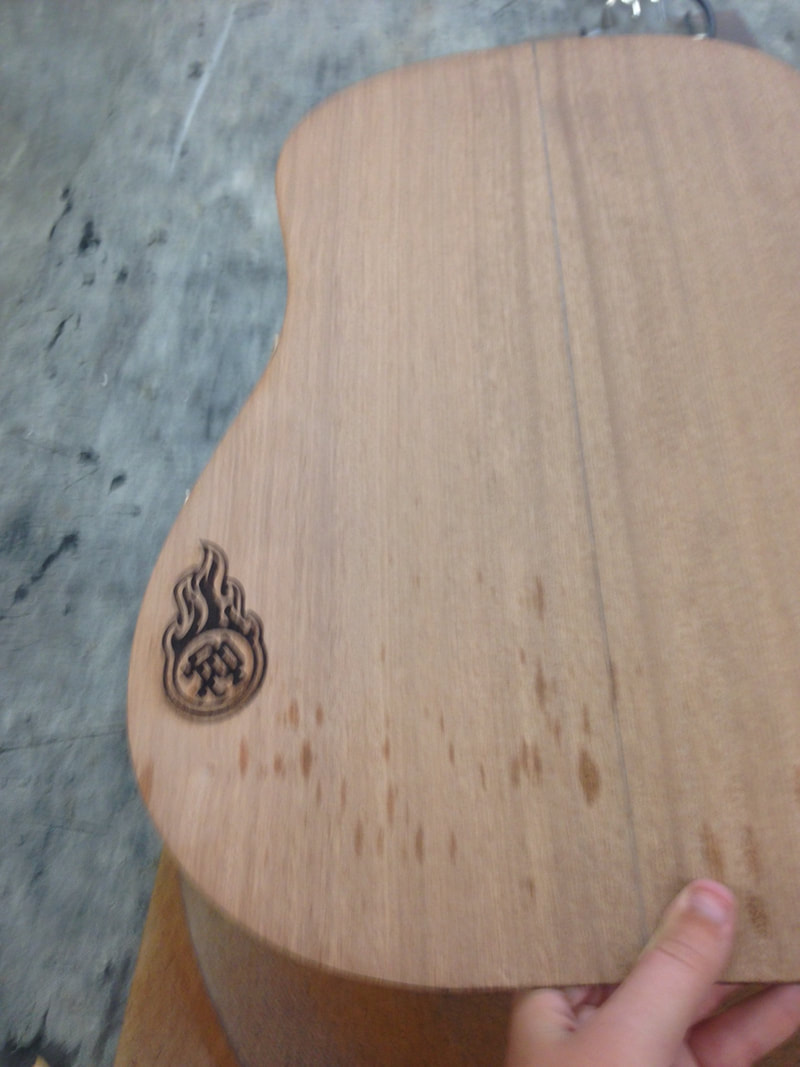
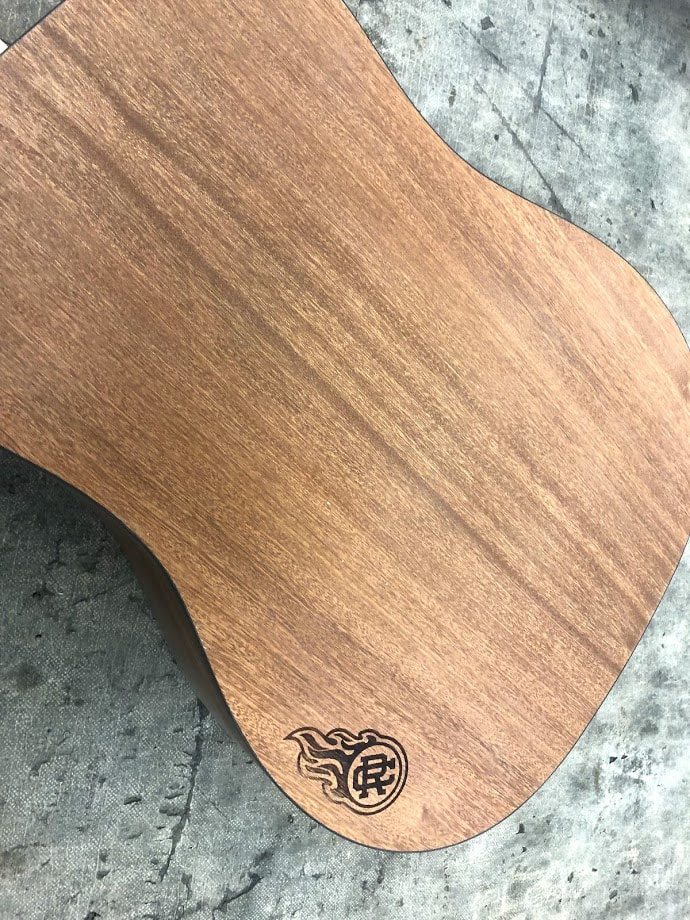
Engraving our Reed Custer logo into the back of our guitars using the CNC laser.
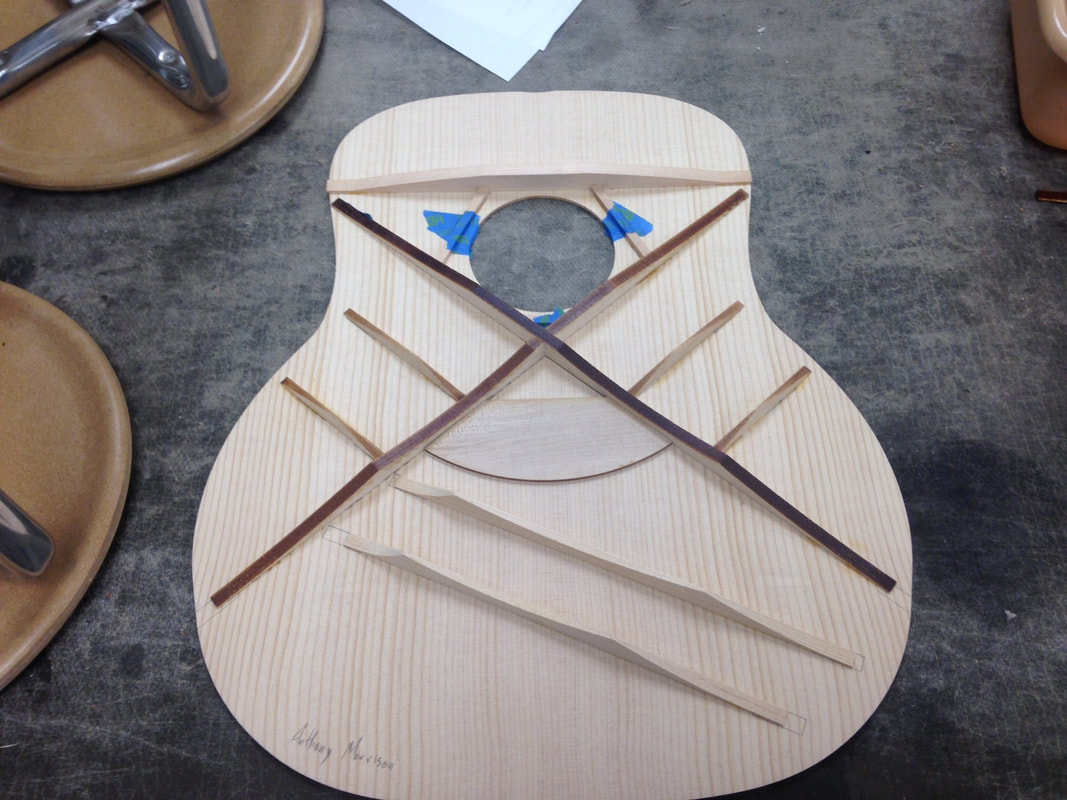
Gluing on the parts of our front.
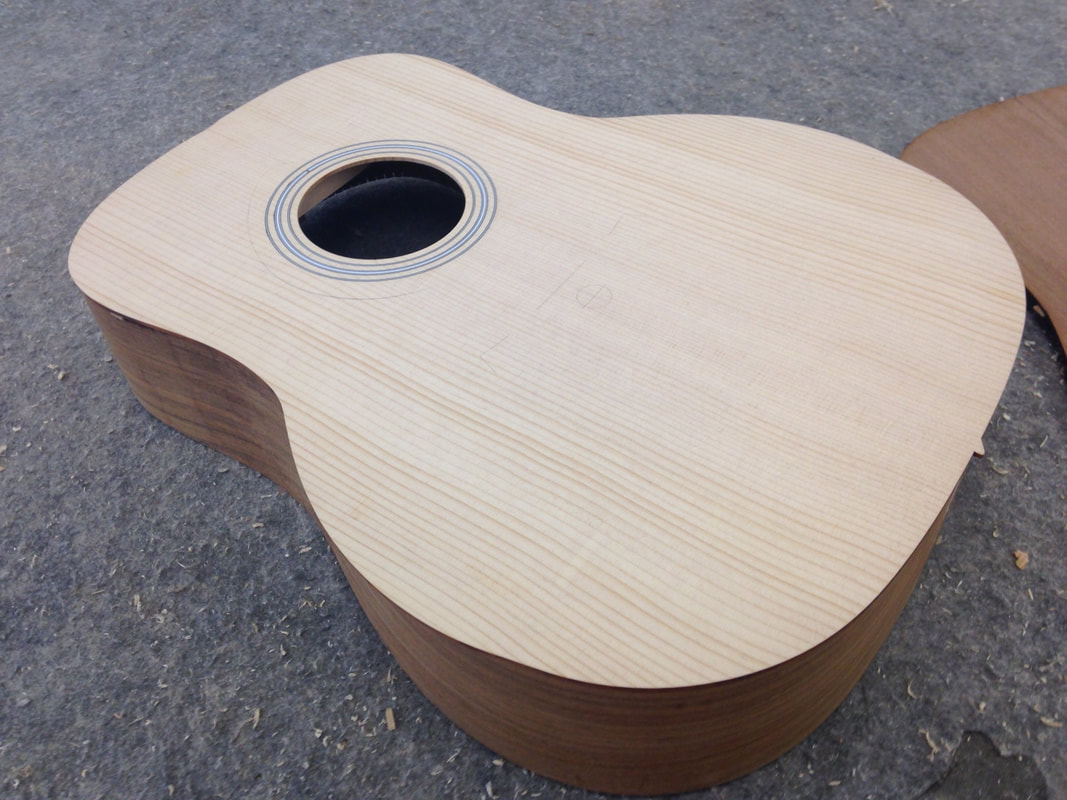
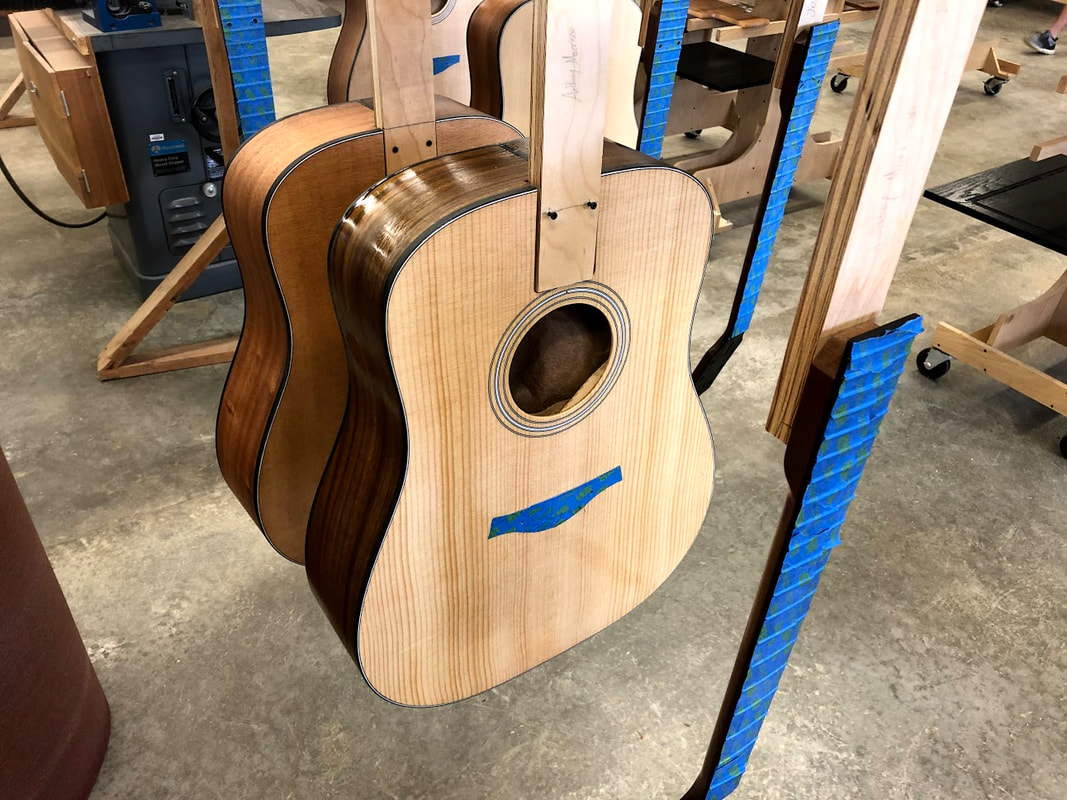
The front glued onto the sides of the guitar shell.
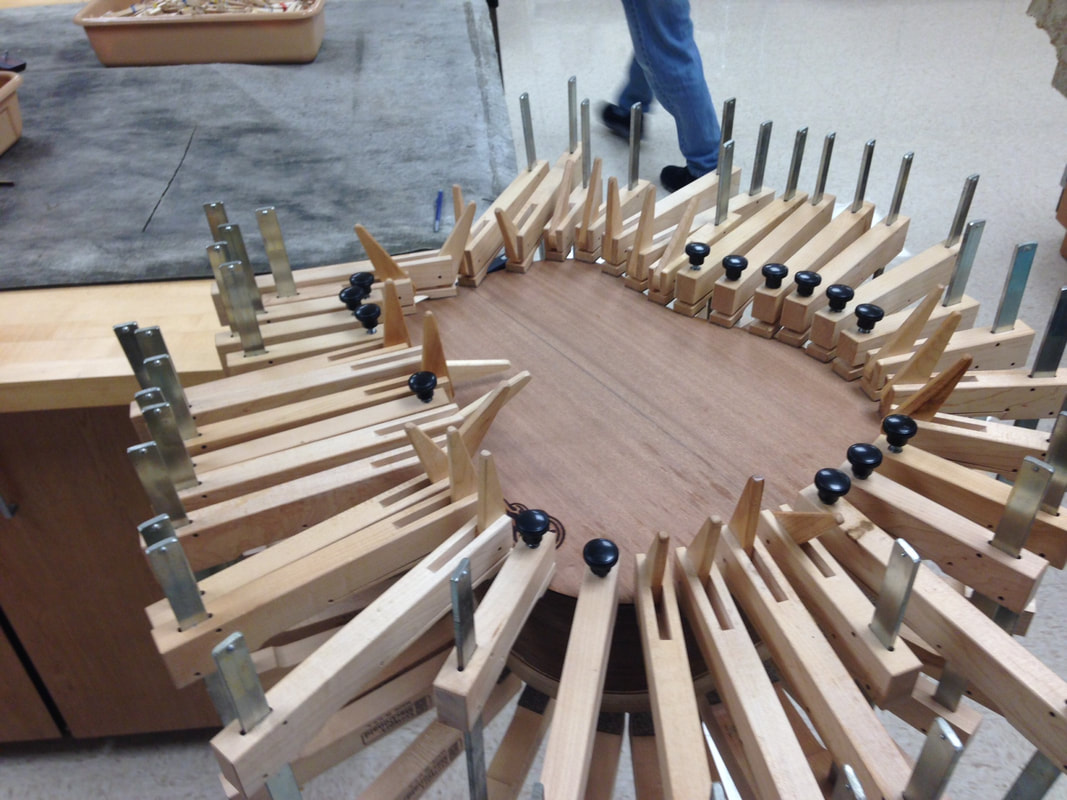
The gluing process of the back of the guitar shell, (same as the front).
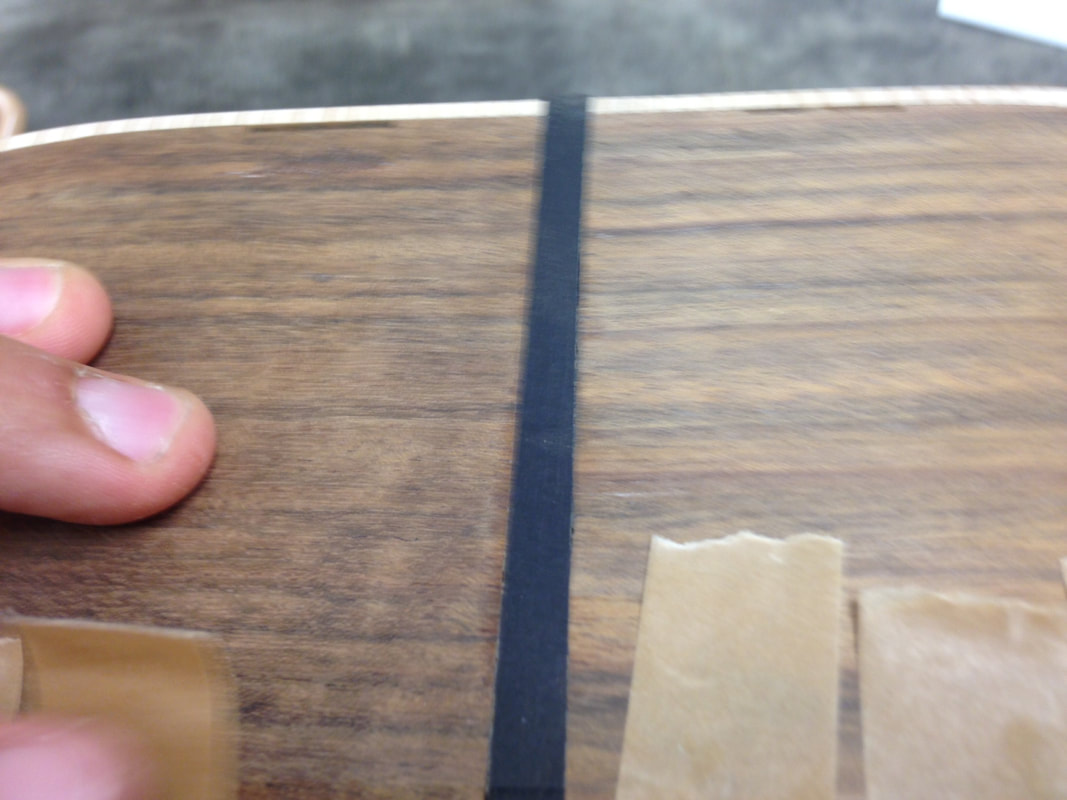
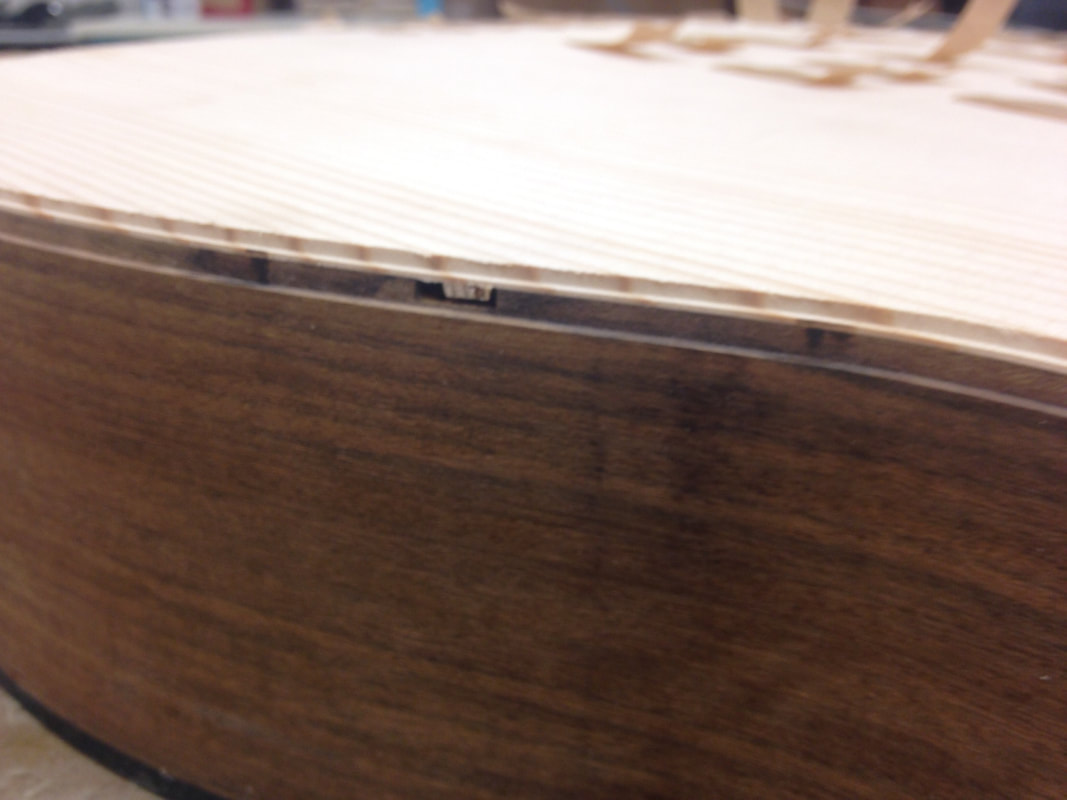
Sanding down the black banding that sits on the bottom and top of the guitar body.
Gluing on the back banding of the guitar body.
The flush sides of the front of the guitar body.
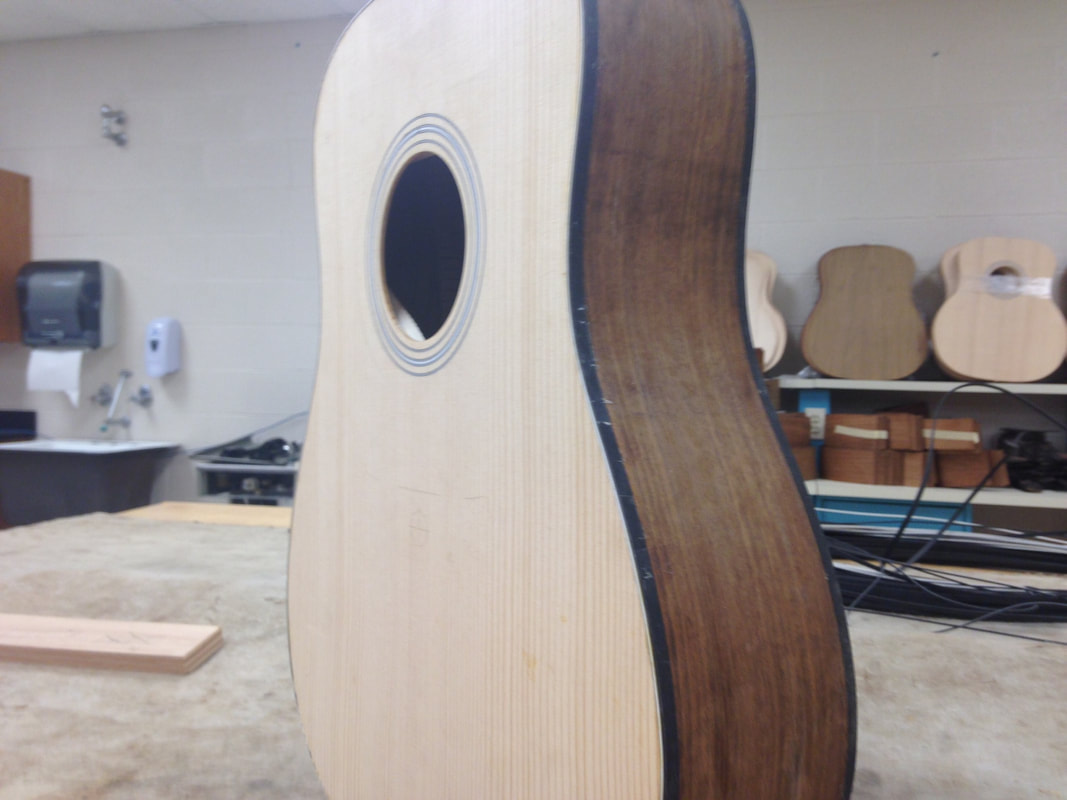
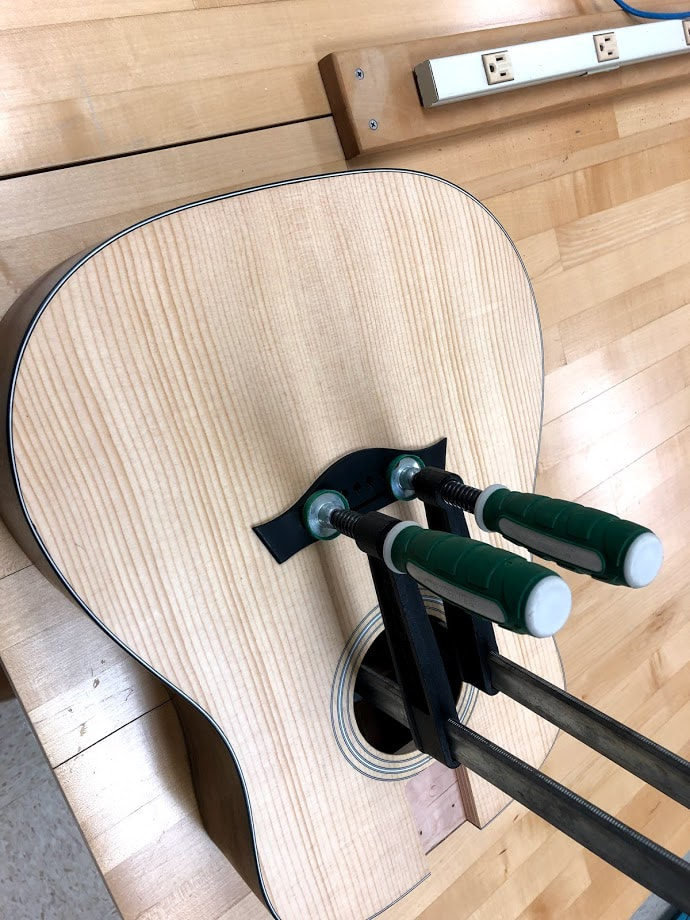
Routing the top edges of the guitar body for the black and white banding.
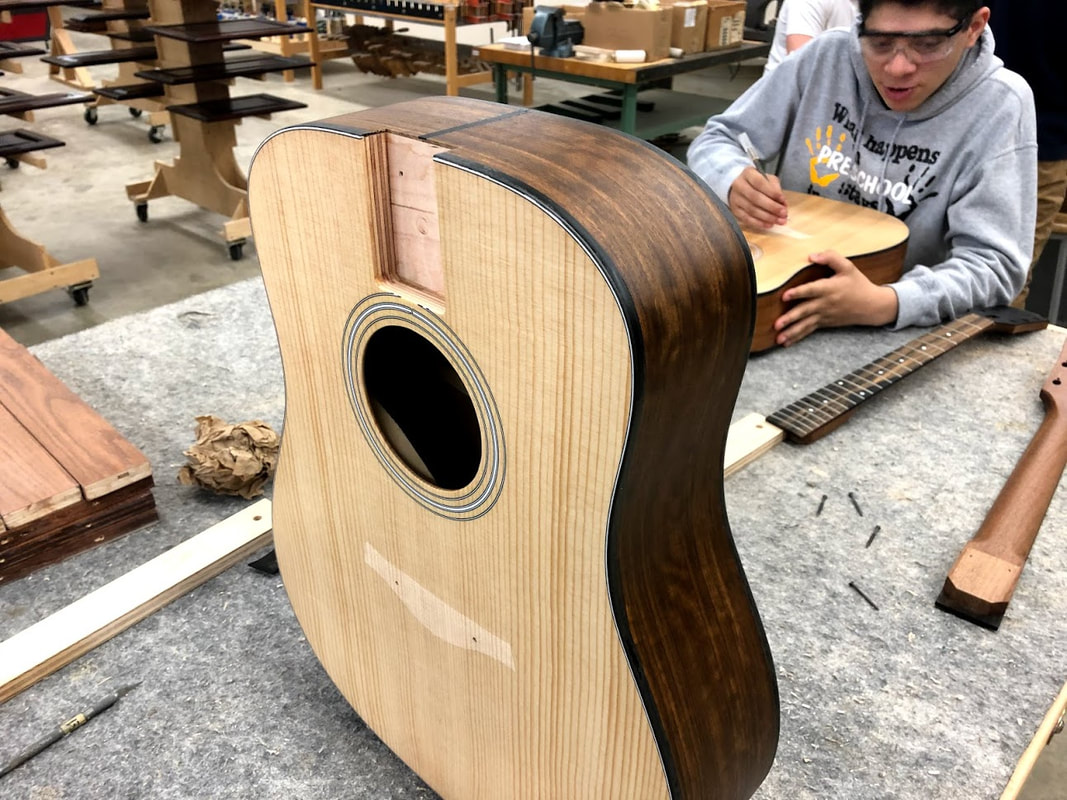
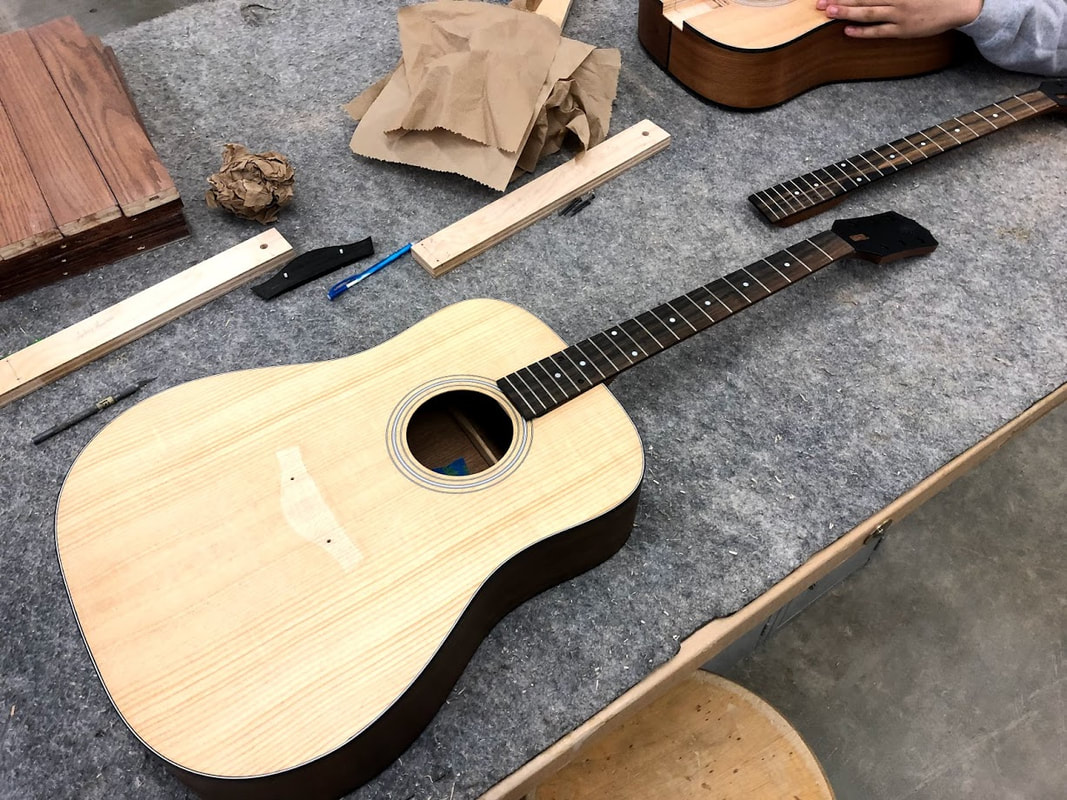
The fully assembled guitar body.
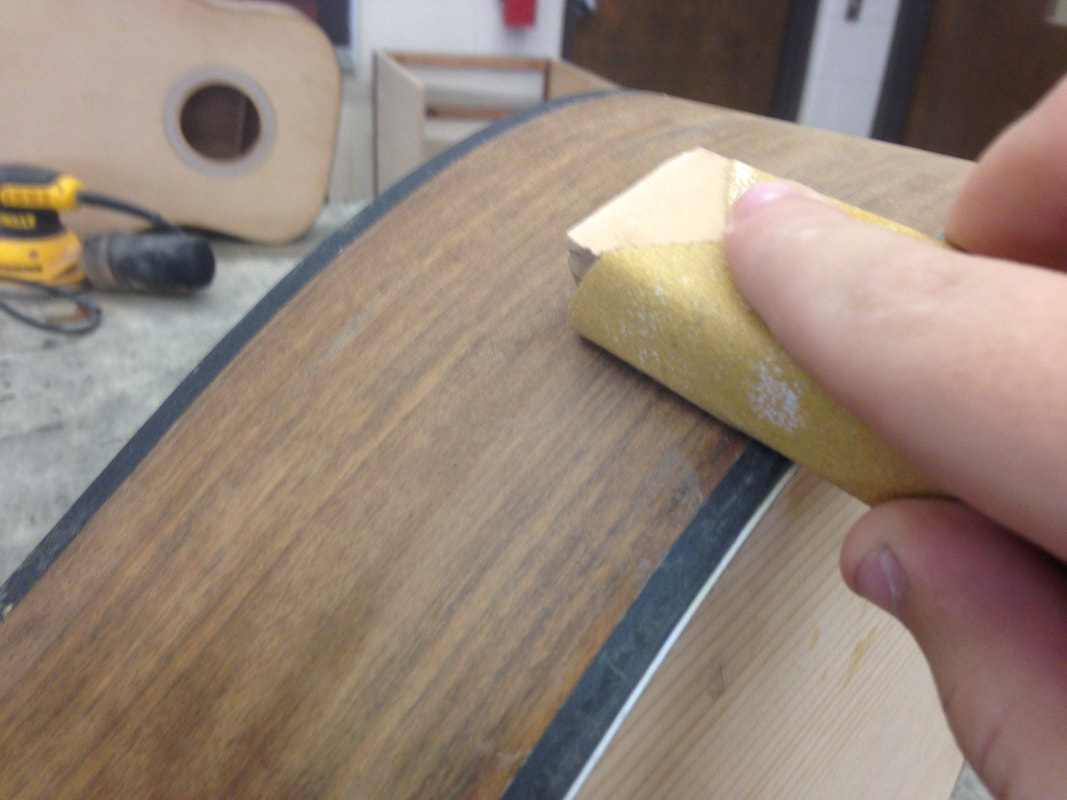
Sanding the banding to be flush with the body of the guitar.
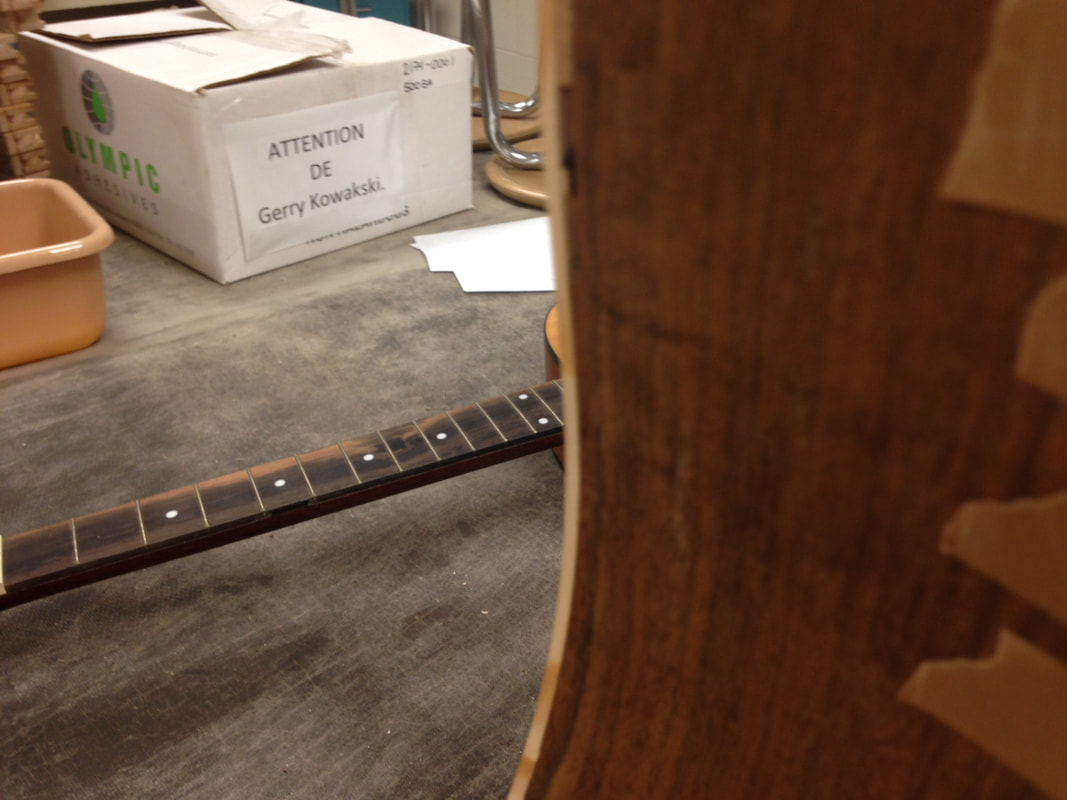
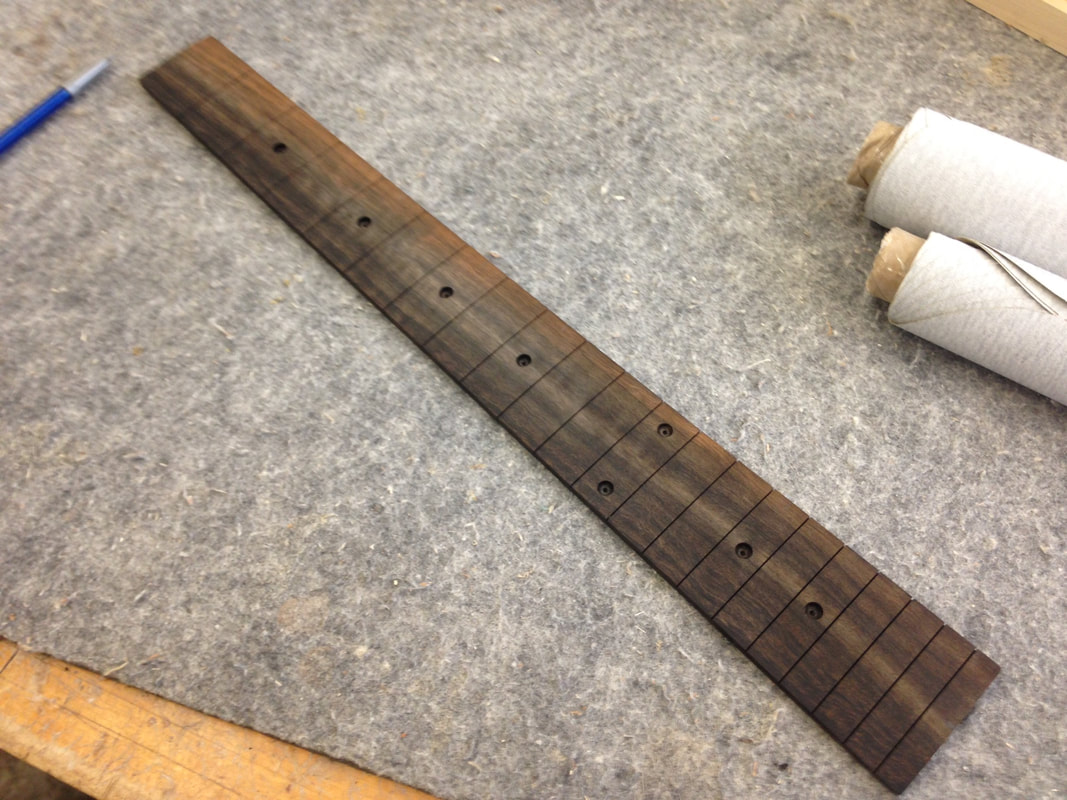
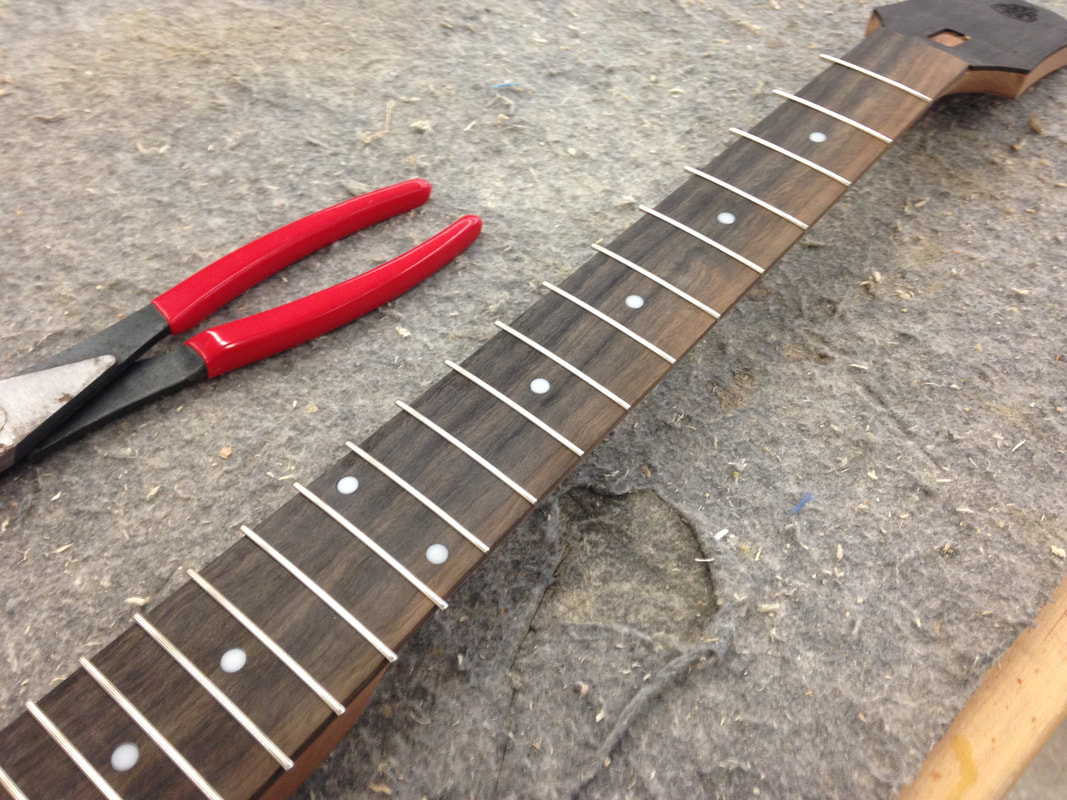
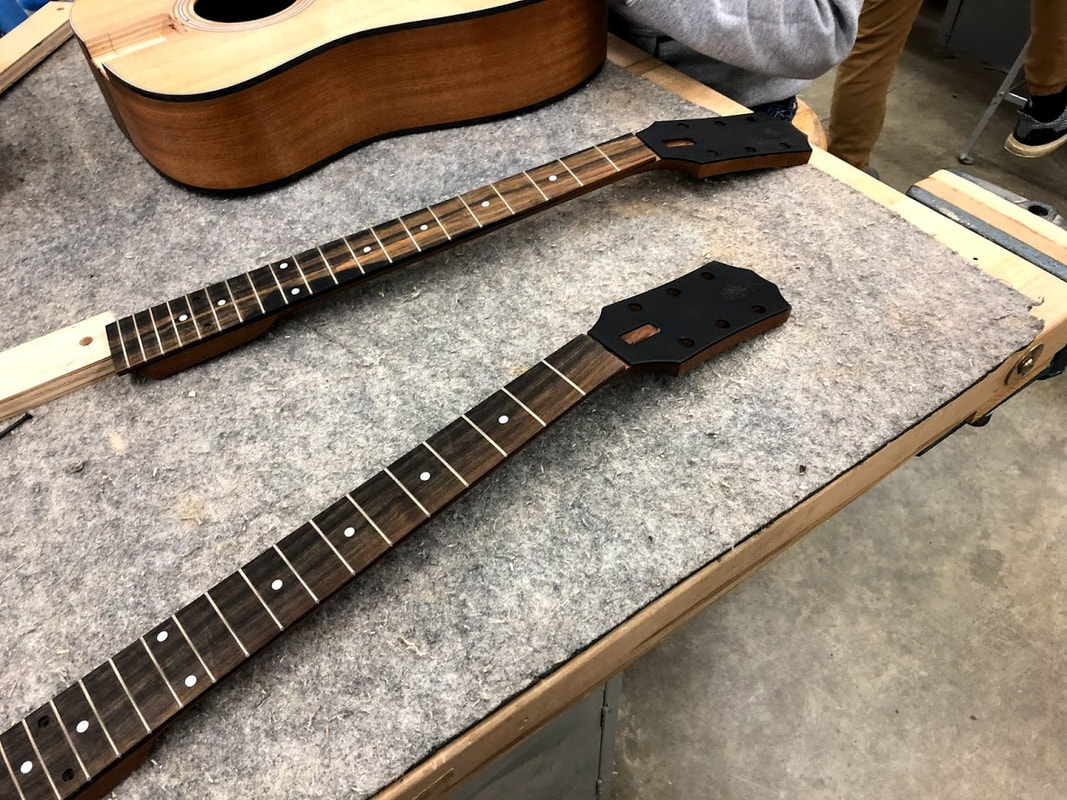
Fret board drilled with marker dot holes.
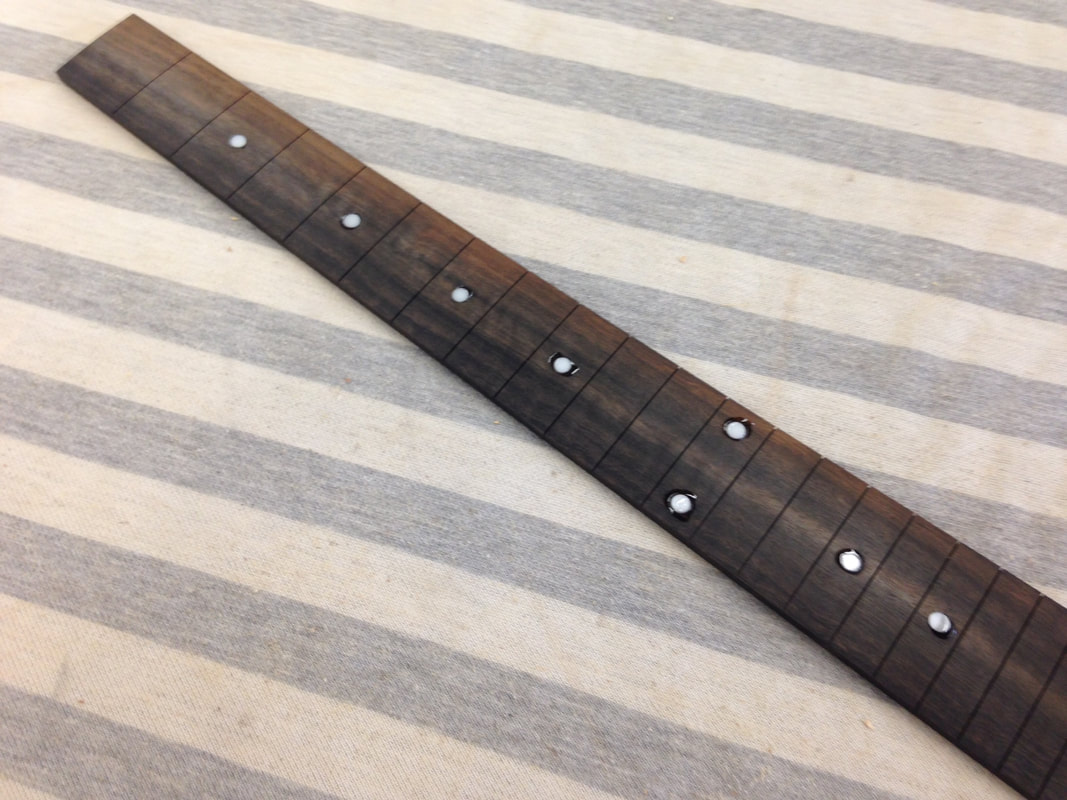
Marker dots glued into the fret board.
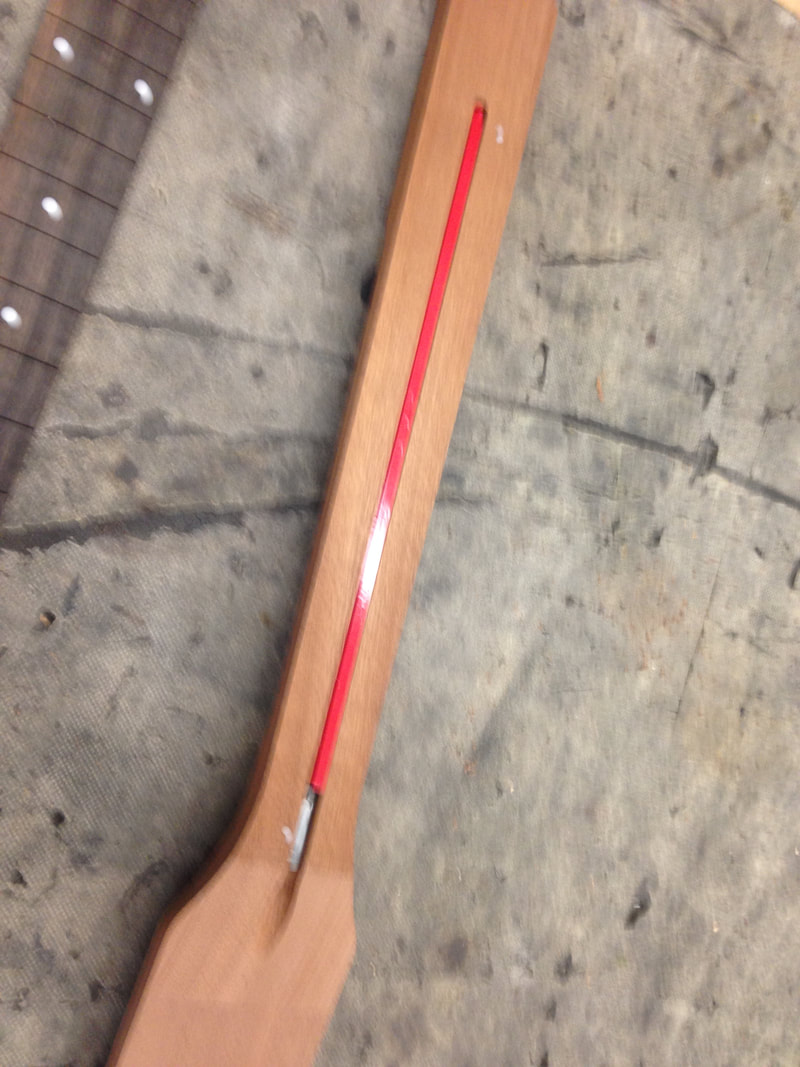
Guitar neck drilled with truss rod space.
Truss rod fitted in place of the guitar neck.
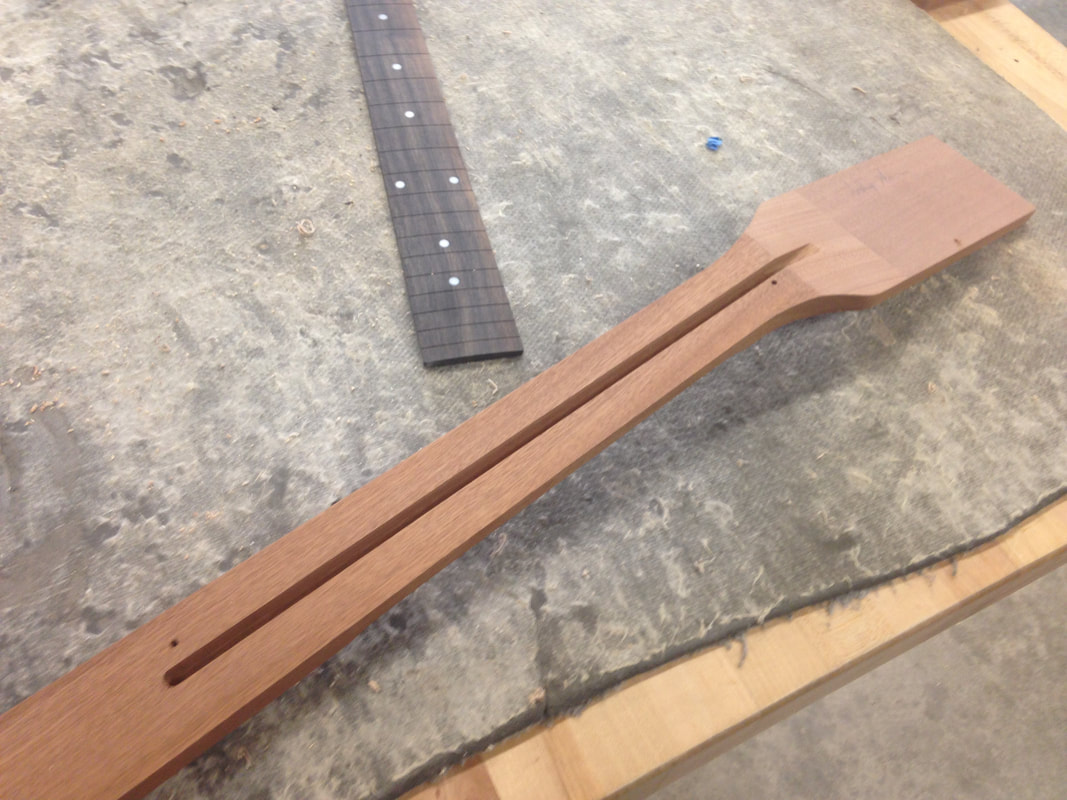
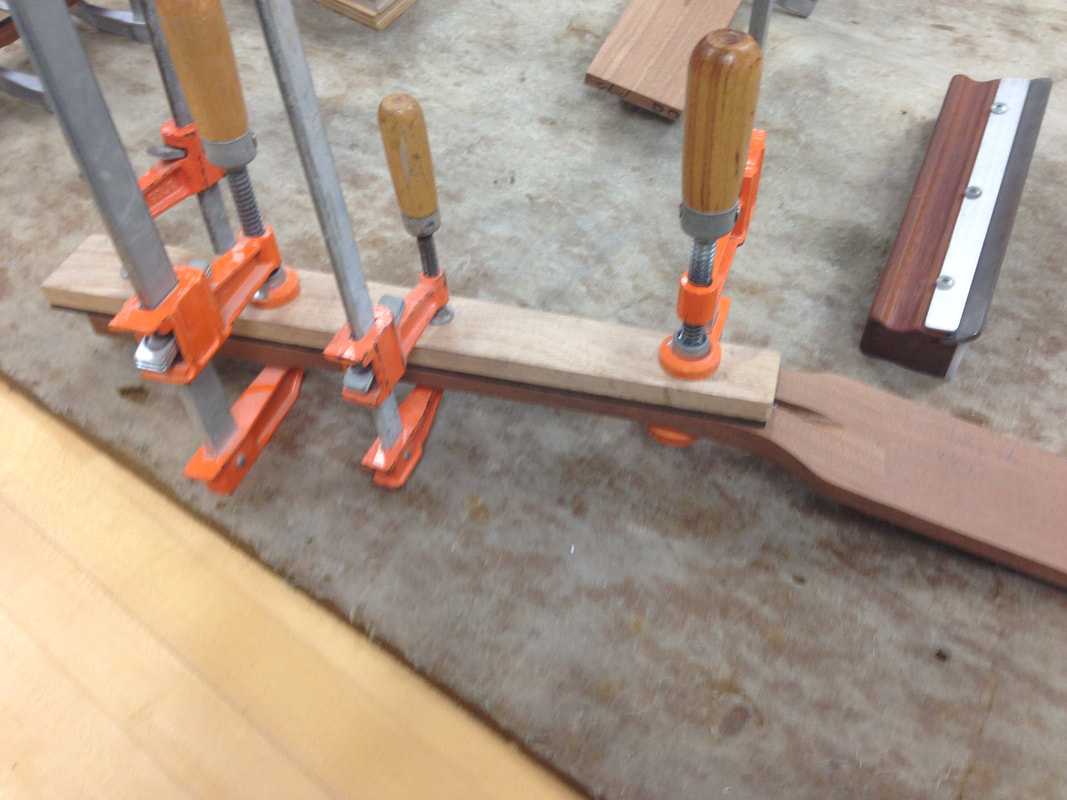
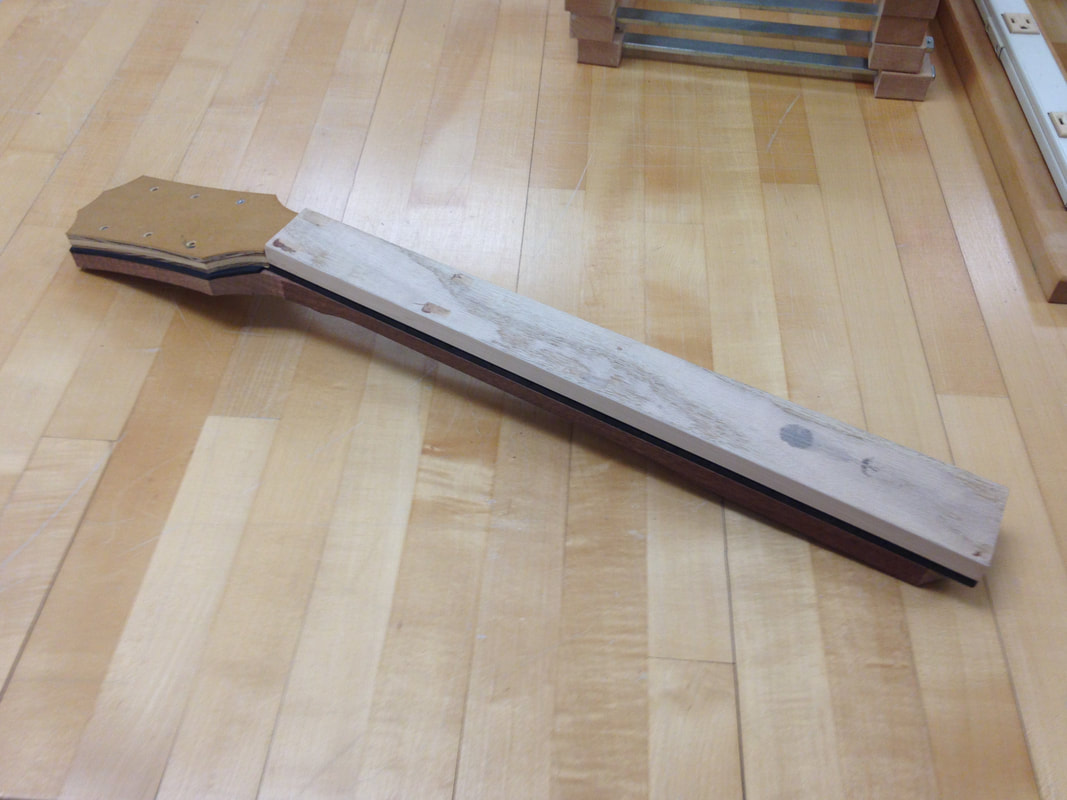
Gluing our fret boards onto our neck.
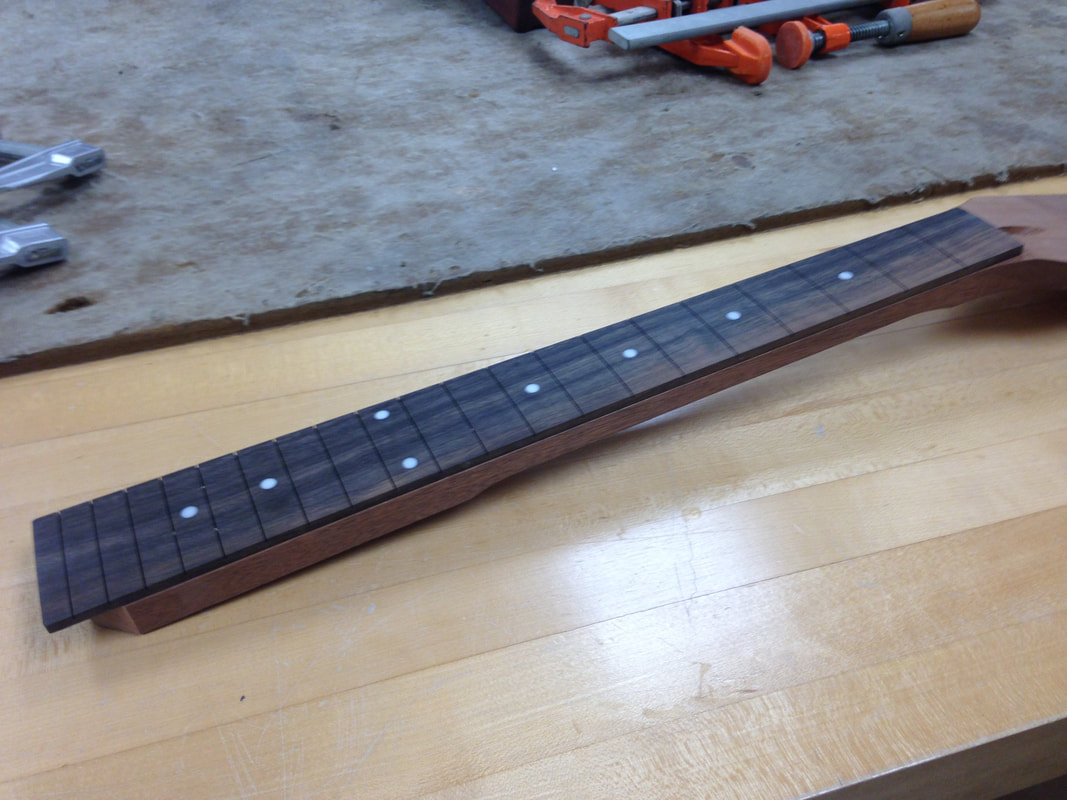
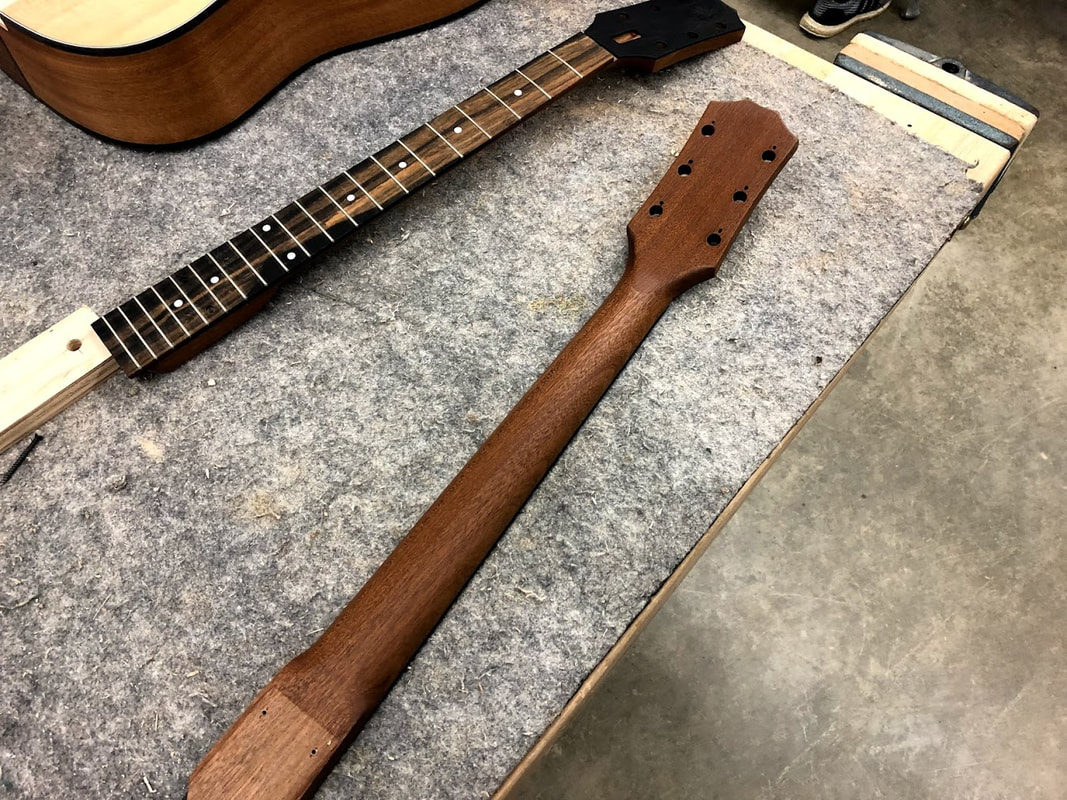
The glued on fret board.
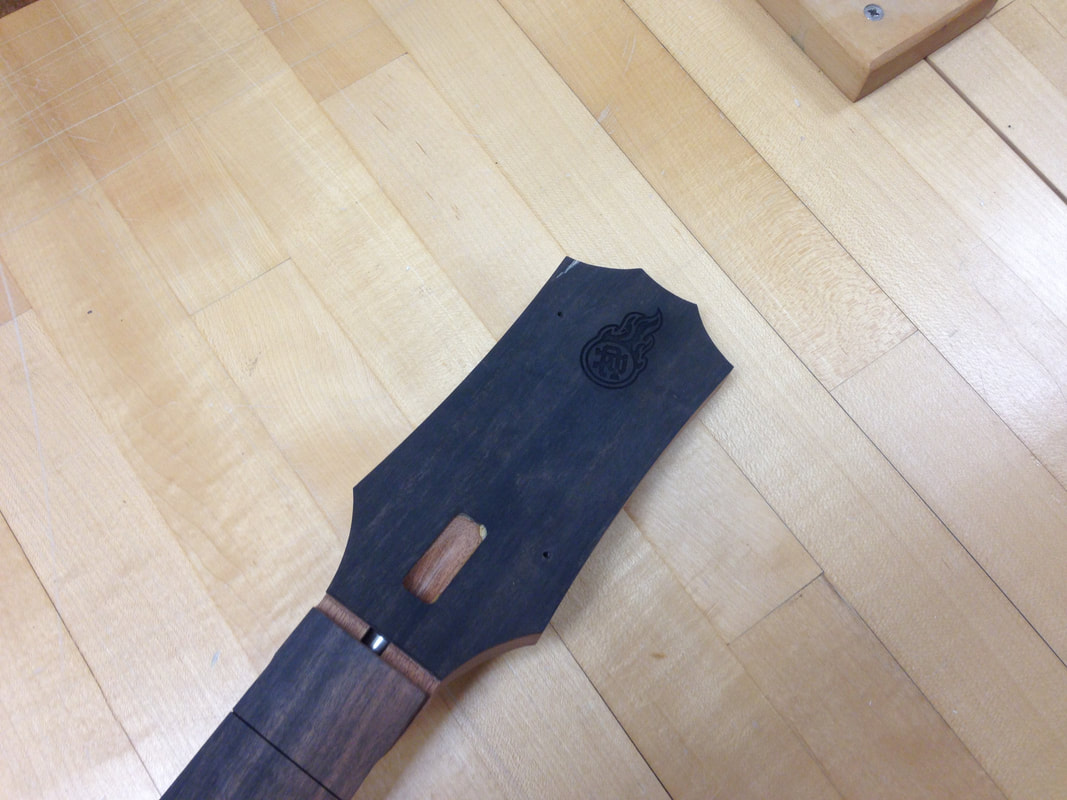
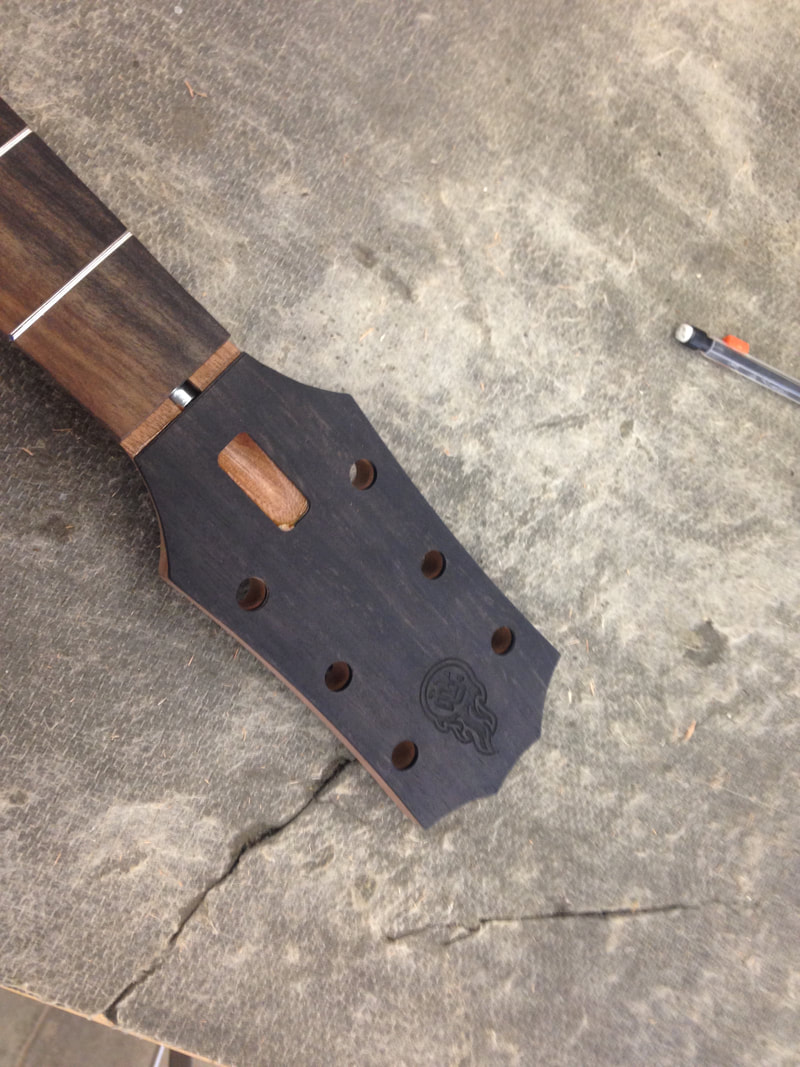
Reed Custer logo being engraved in our veneer for the neck of our guitars.
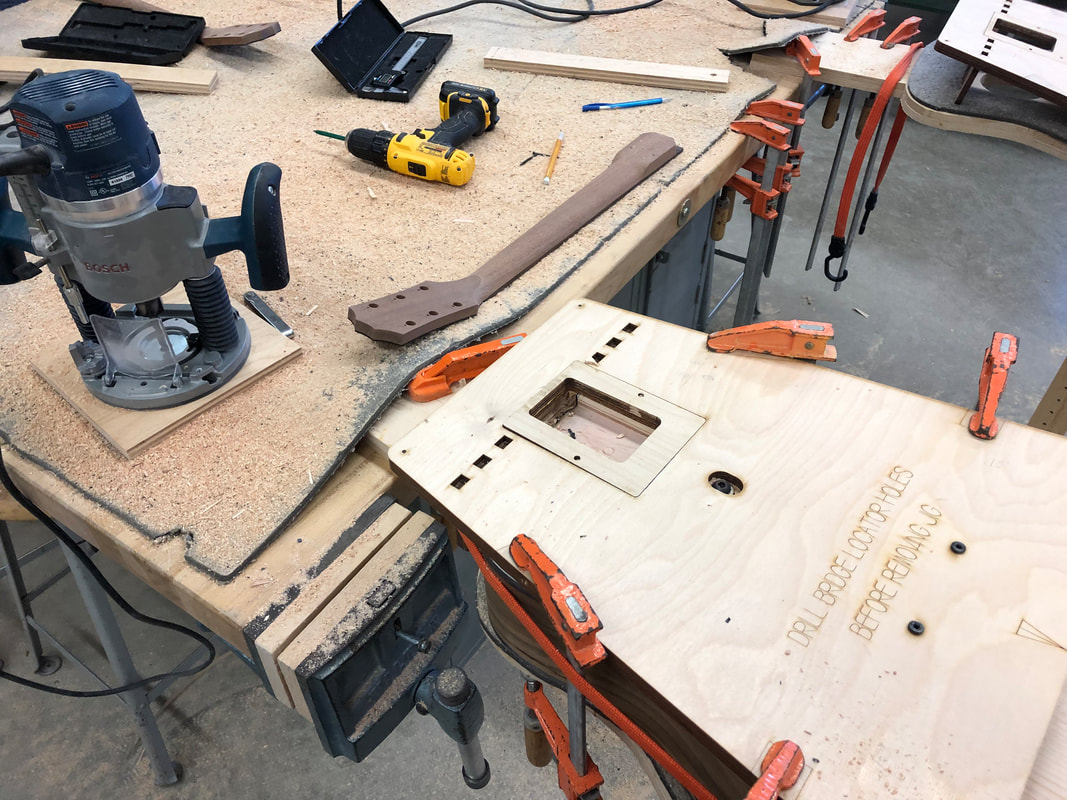
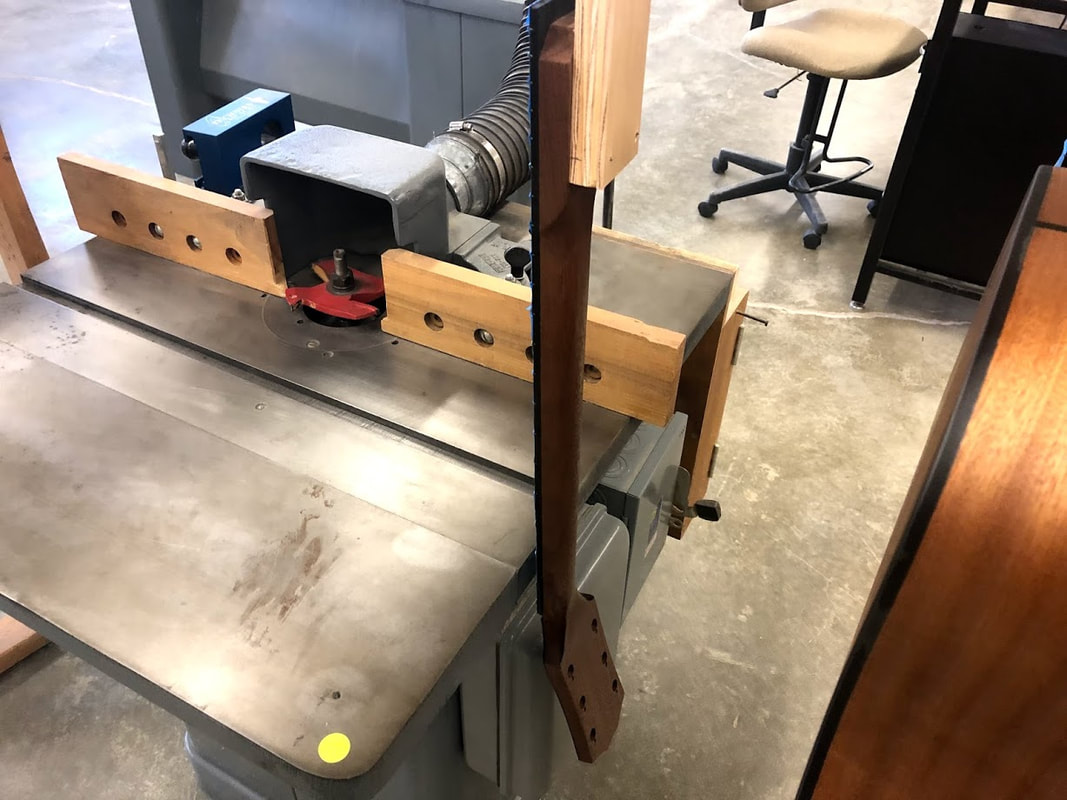
Neck head and neck jigs on for routing.
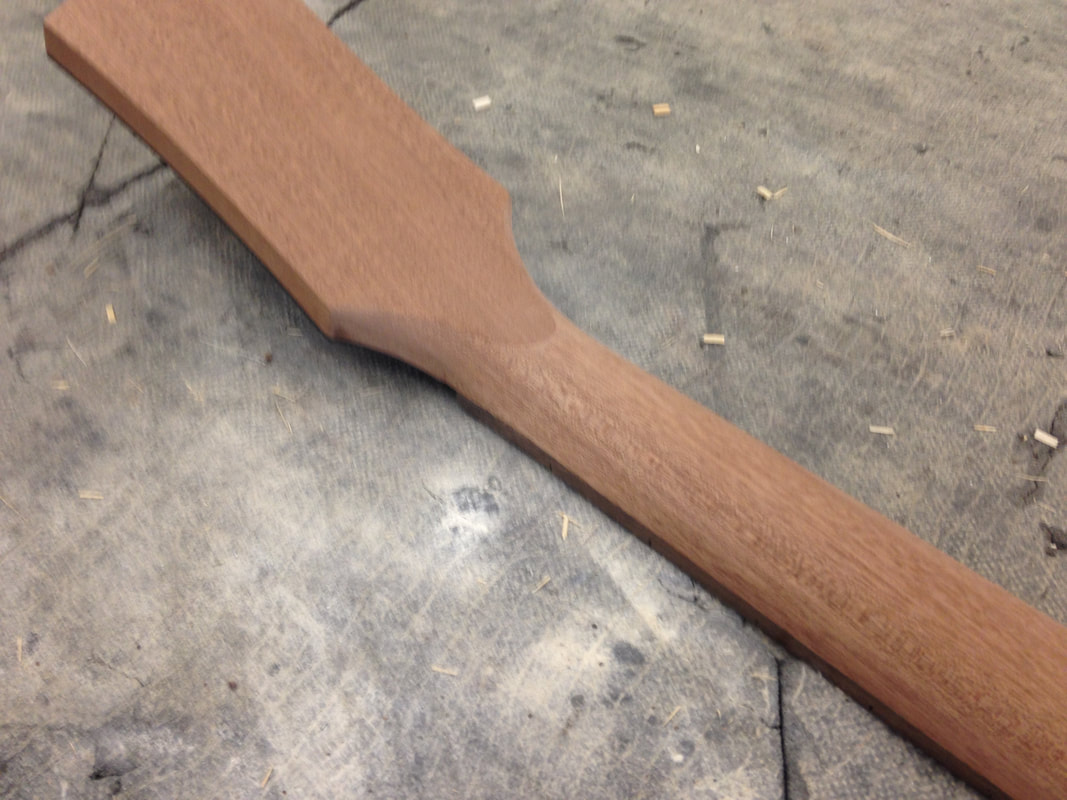
Head of neck routed to be flush to our jig.
The neck of our tuner heads filed down flush.
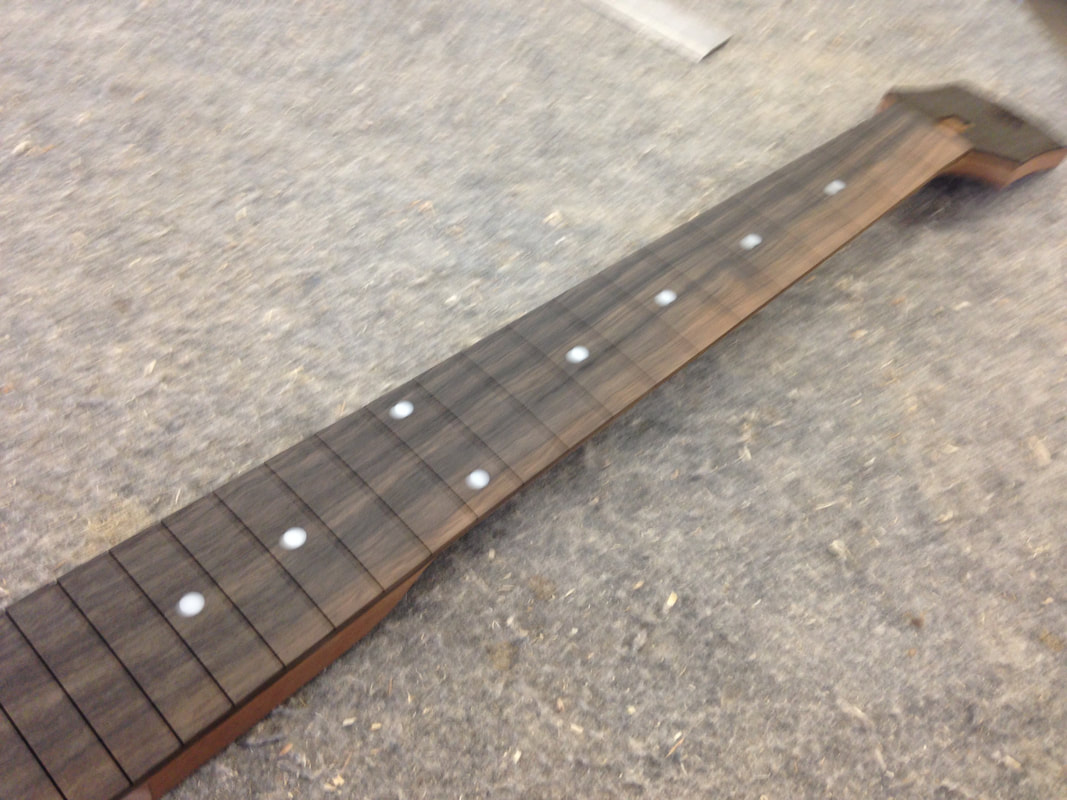
Fret board and the neck sanded with 220 and 120 grit sand paper.
Cutting the fret lines to be flush with the neck.
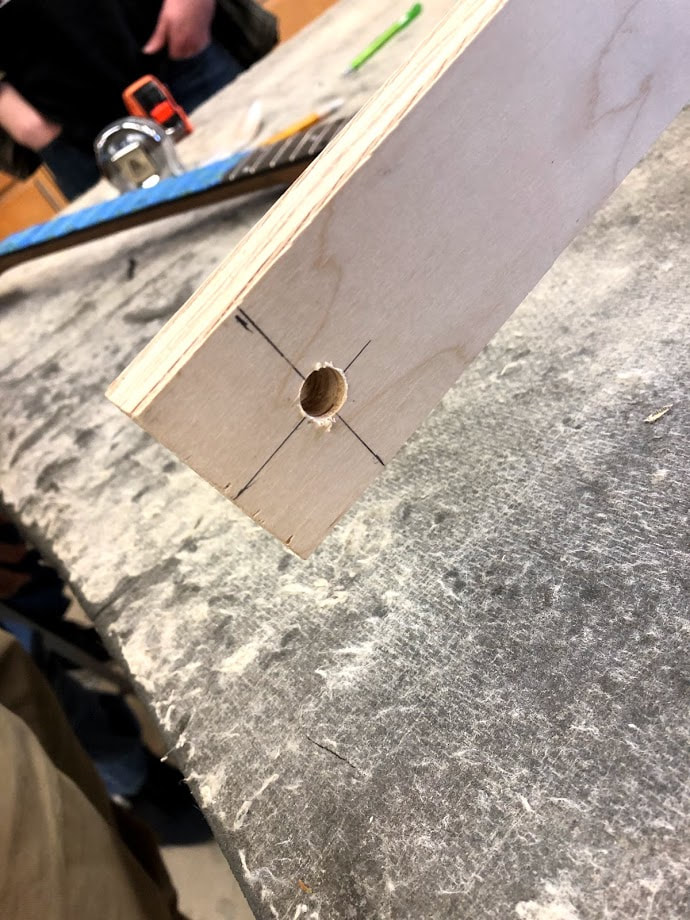
Holes drilled out to be flush with the guitar.
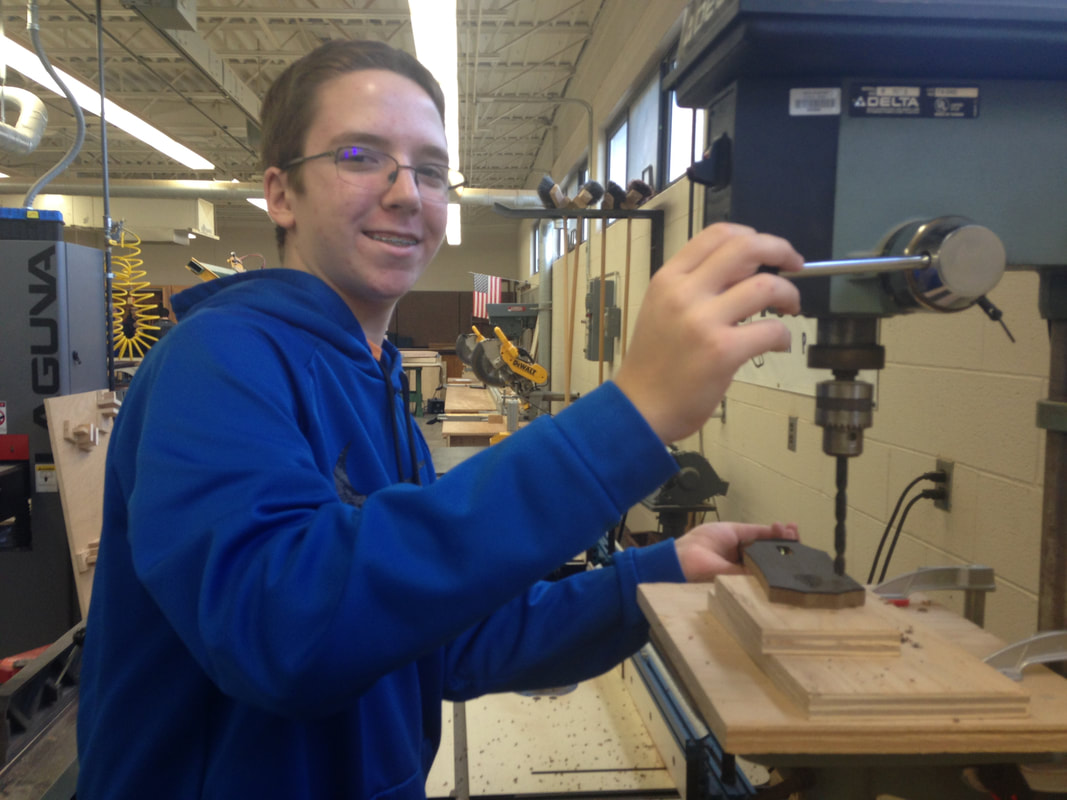
Me drilling out my tuner heads.
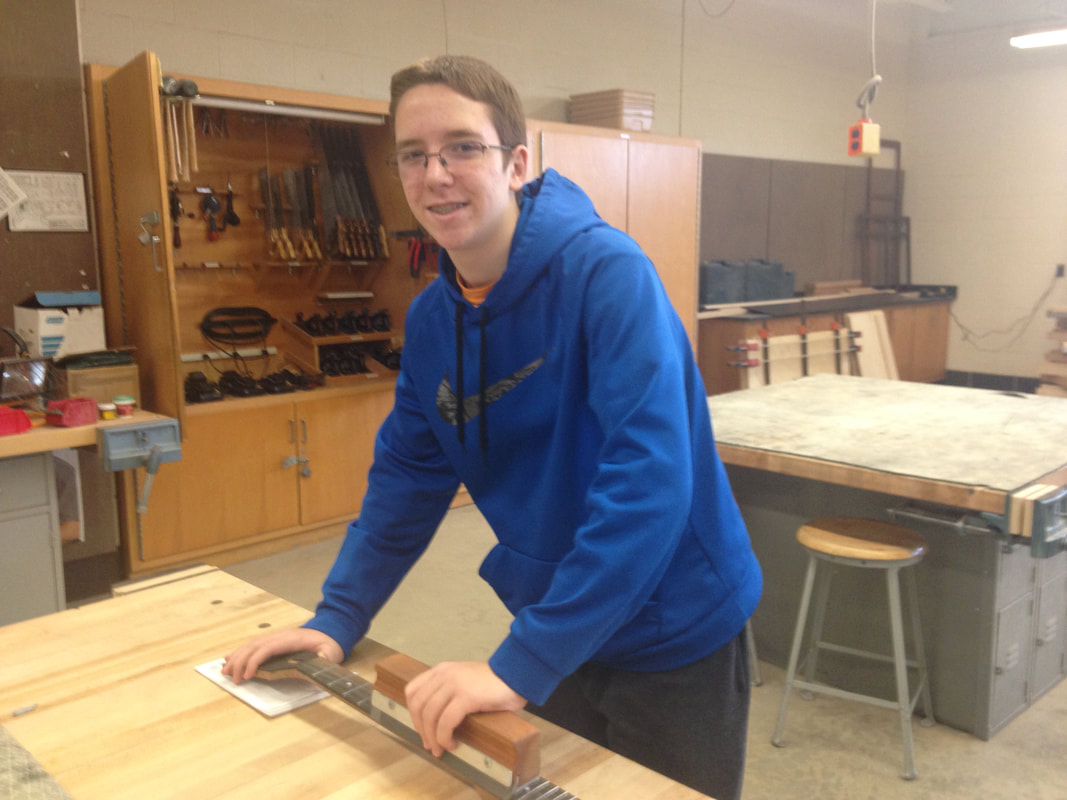
Me filing down the fret lines on my guitar neck.
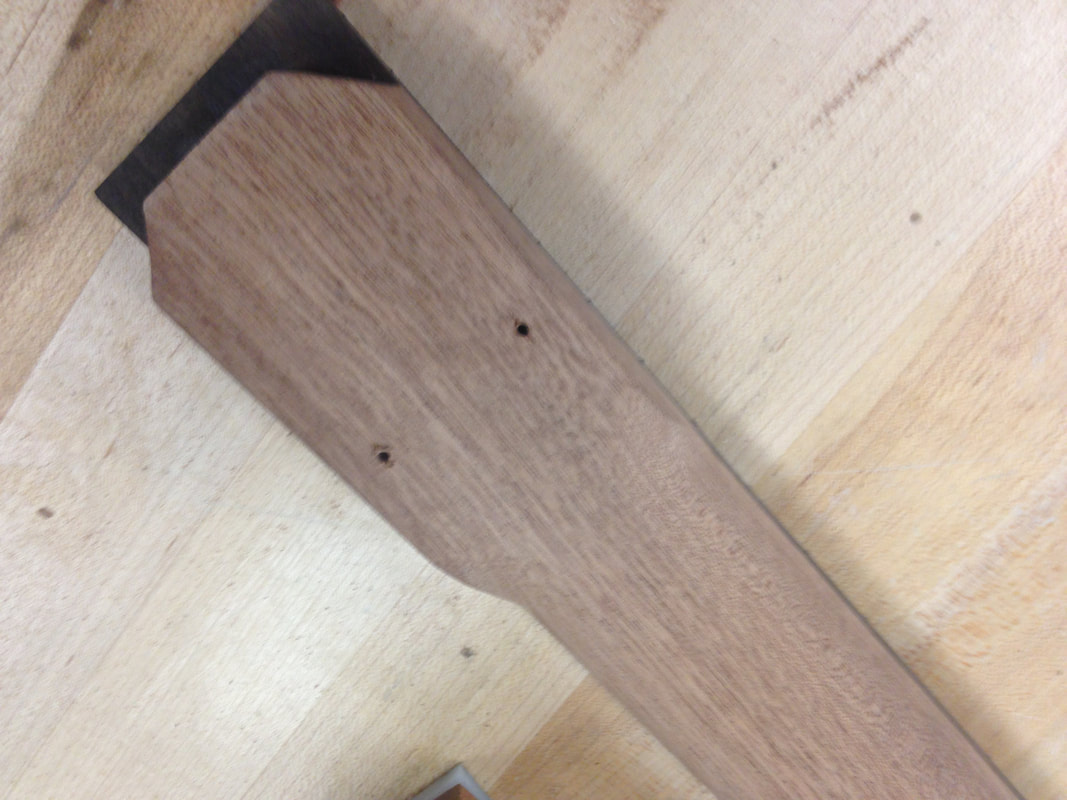
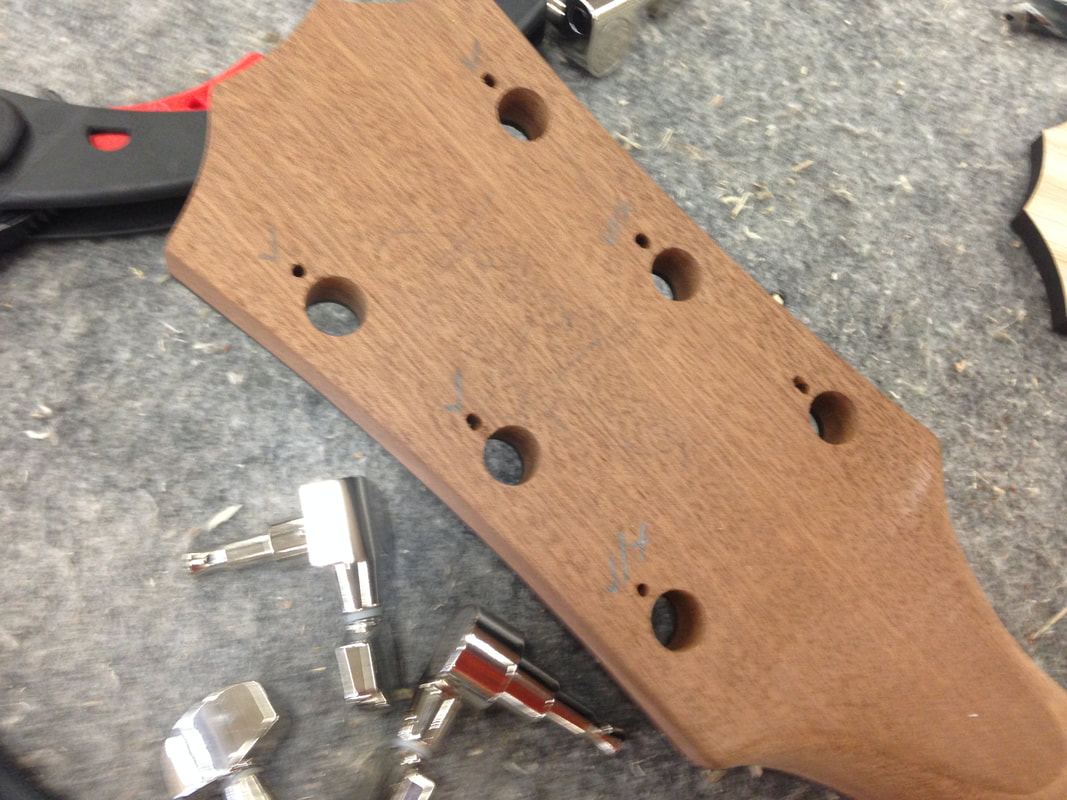
Tuner holes drilled on our heads.
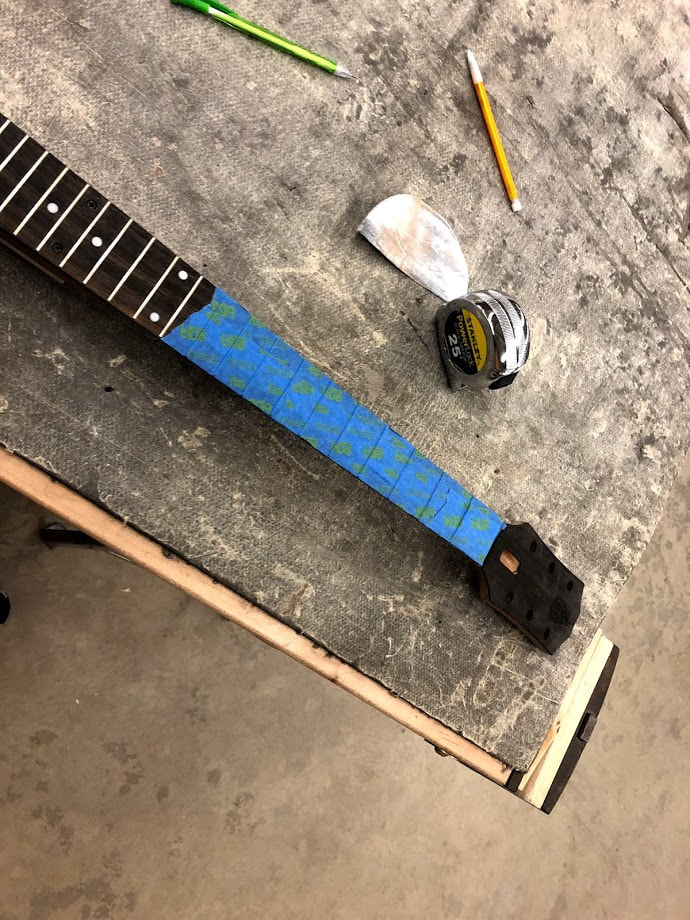
Position markers for the tuners on our necks.
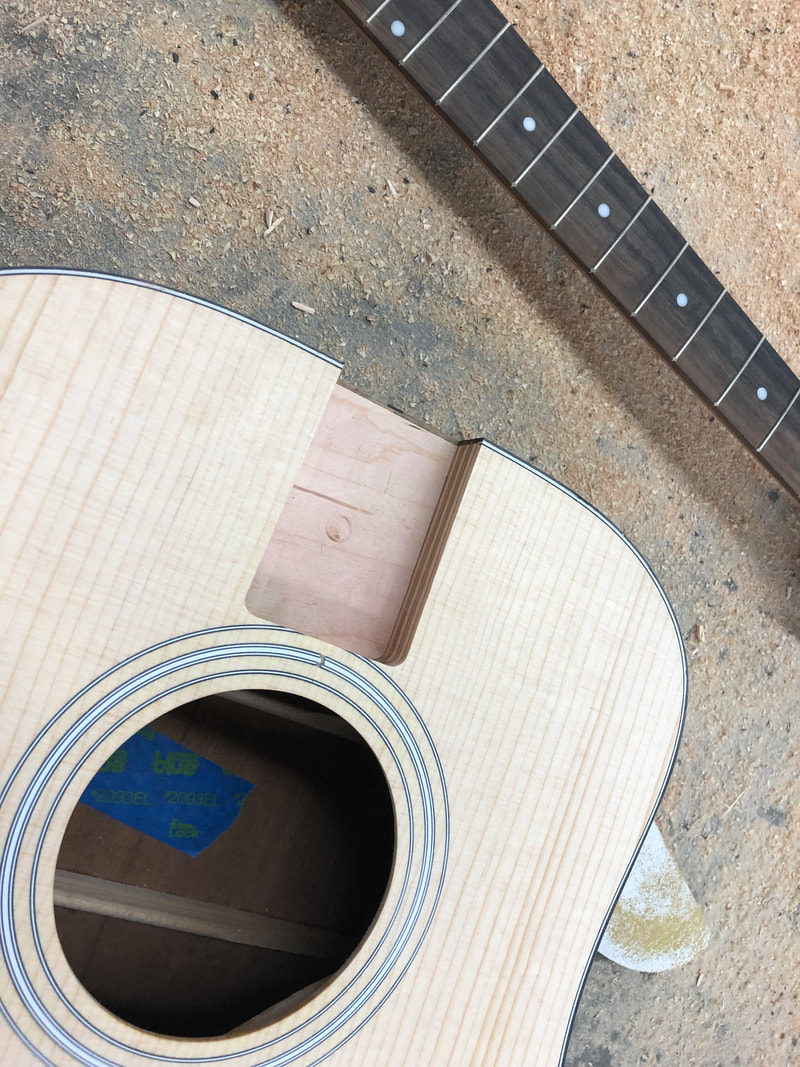
Setup for pocketing our bodies.
Pocketed body.
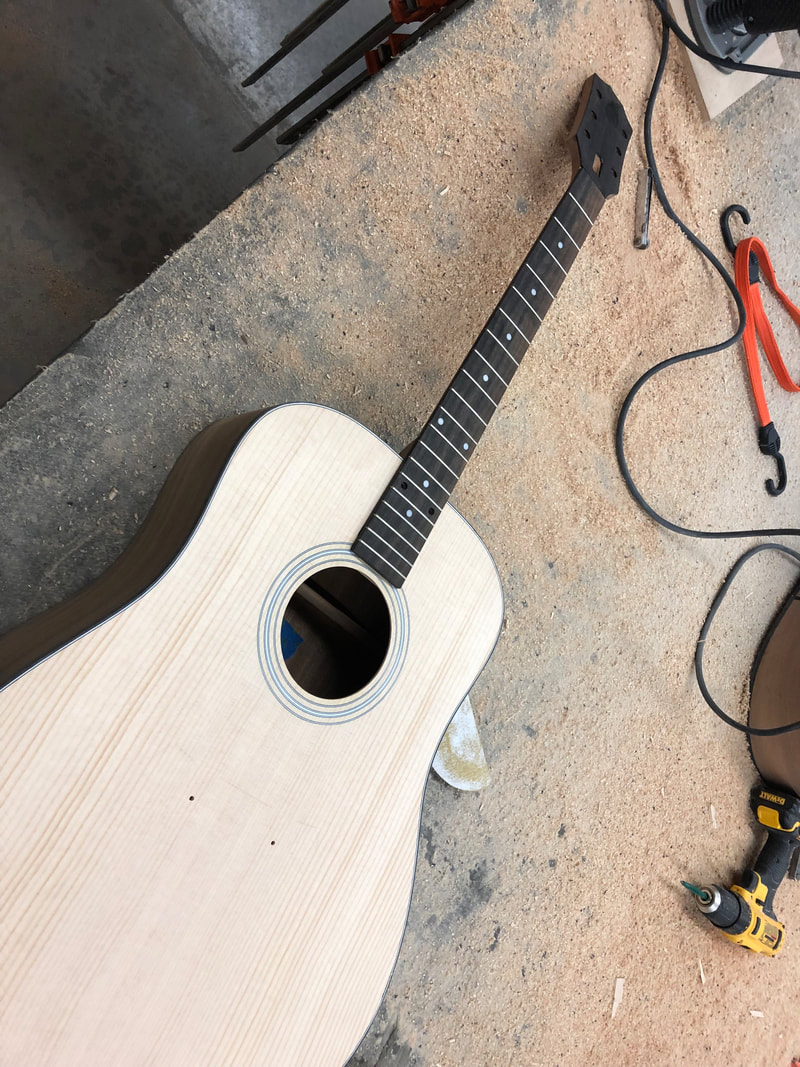
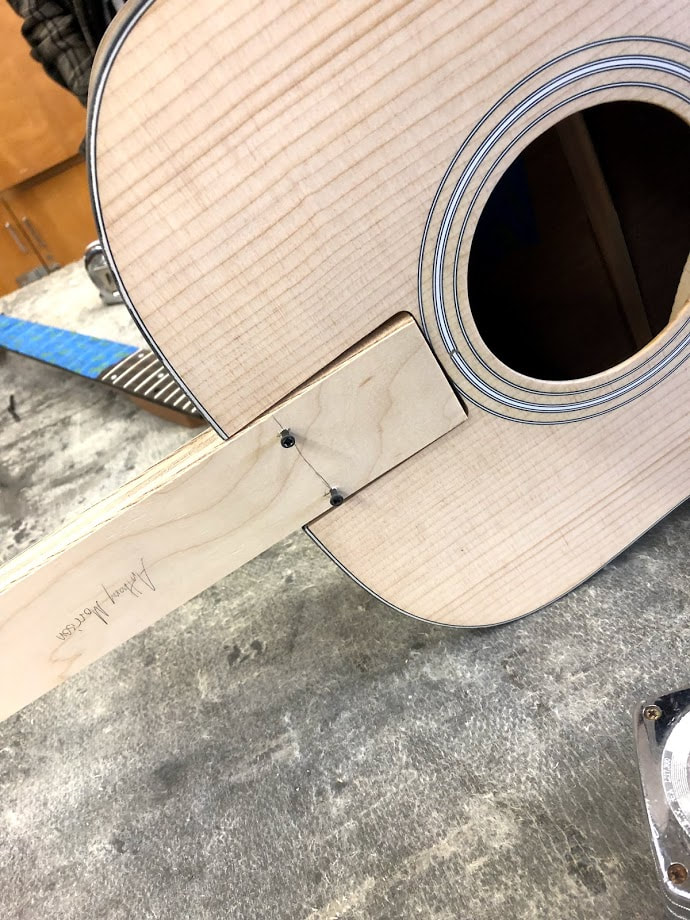
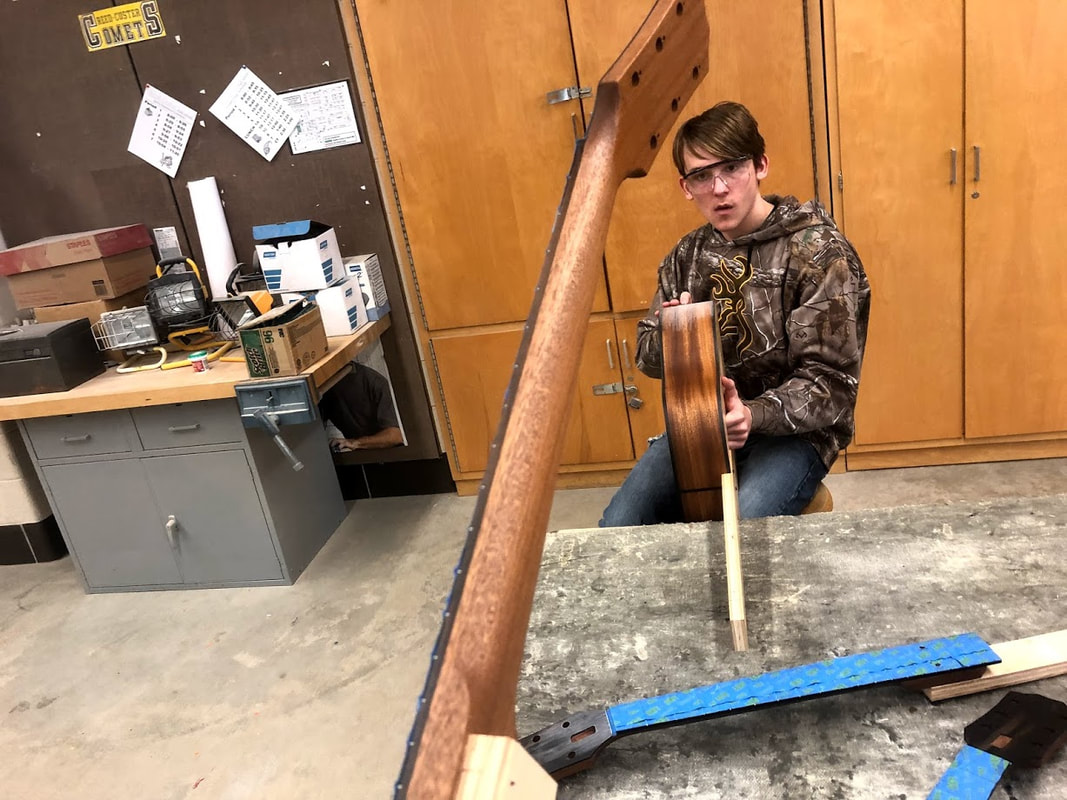
Neck placed inside of the pocketed body.
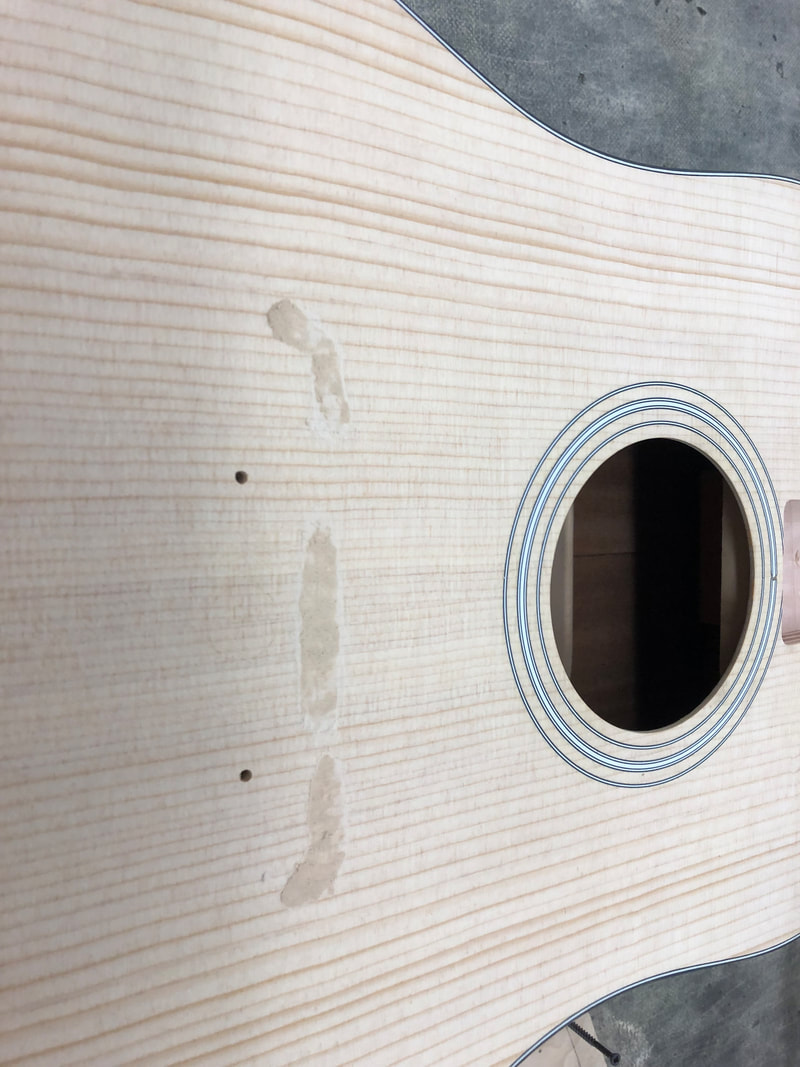
Wood putty on bridge placement laser marks.
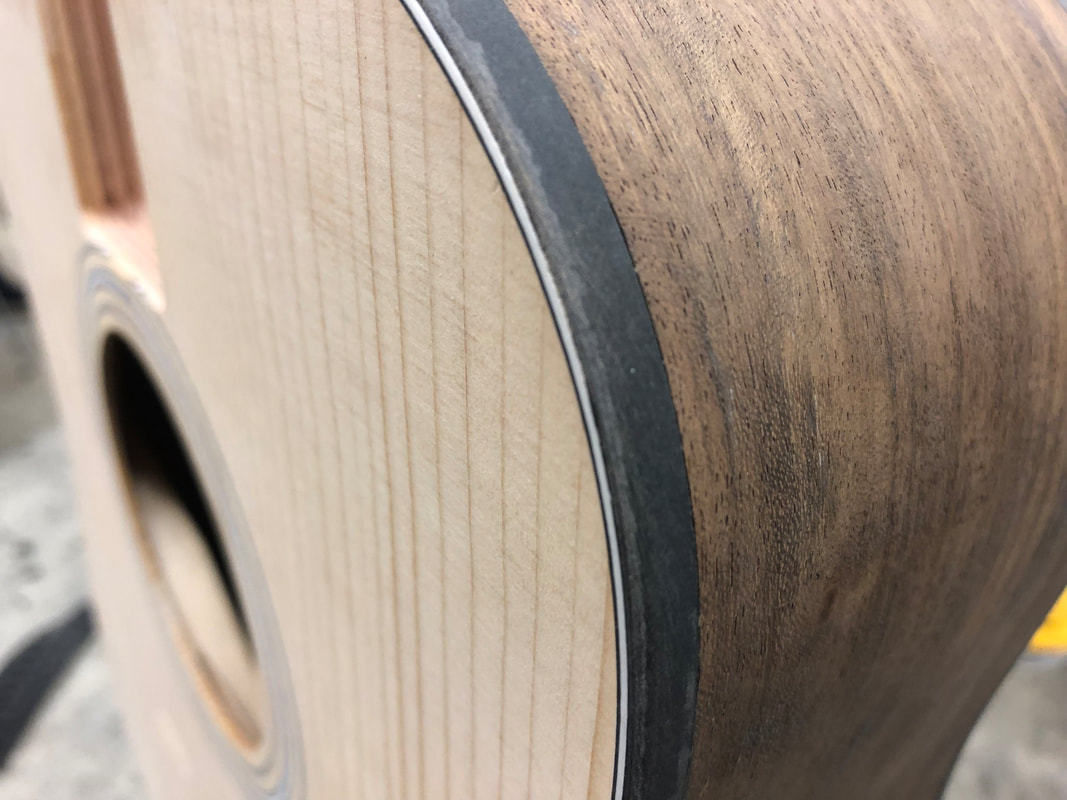
Banding on our guitar bodies rounded off so the finish can stick.
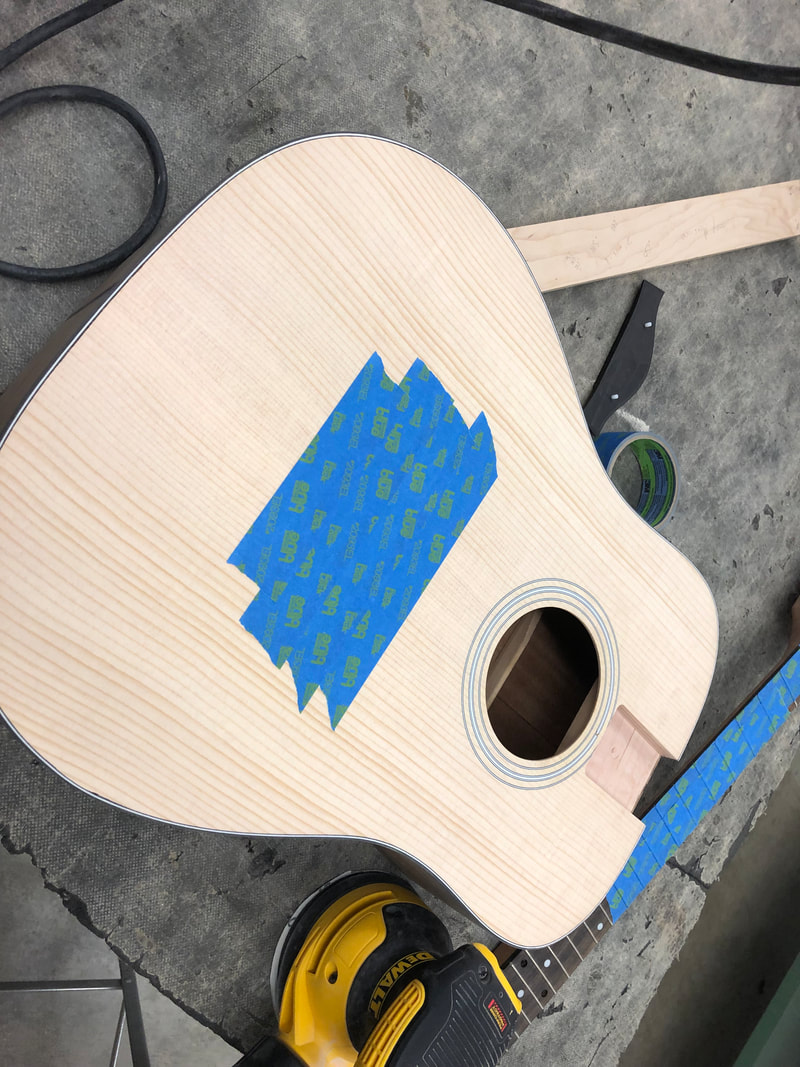
Bridge portion with tape on it to protect it from finsih.
Bridge area of our guitars covered with tape to protect from finish.
Handle for the spray rack on our guitar body.
Hole drilled using the drill press to hang on the spray rack.
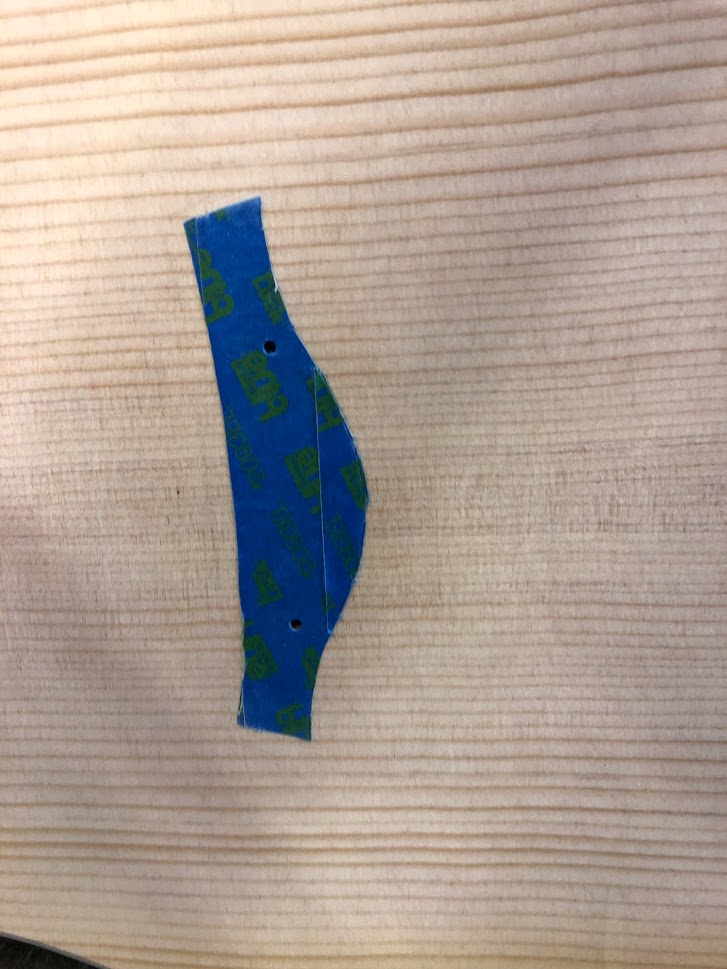
Neck of guitar partially taped off to protect from finish.
Neck of guitar fully taped off.
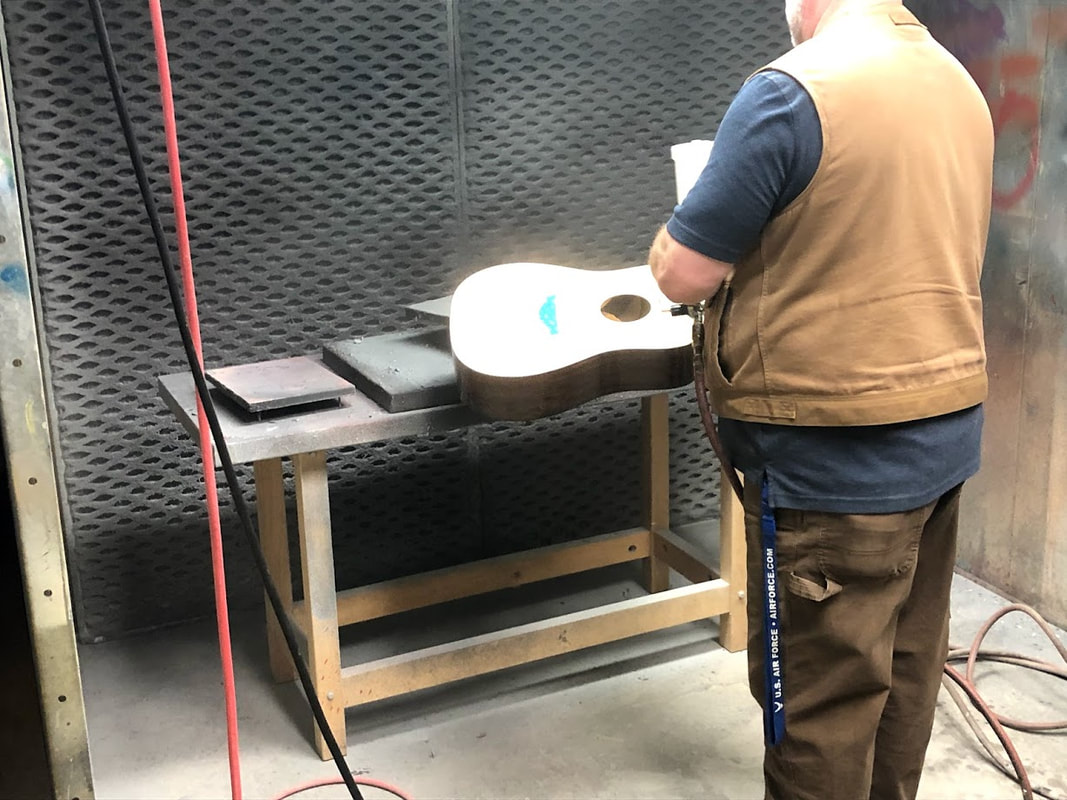
Mr. Smith spraying the first layer of finish on our guitars.
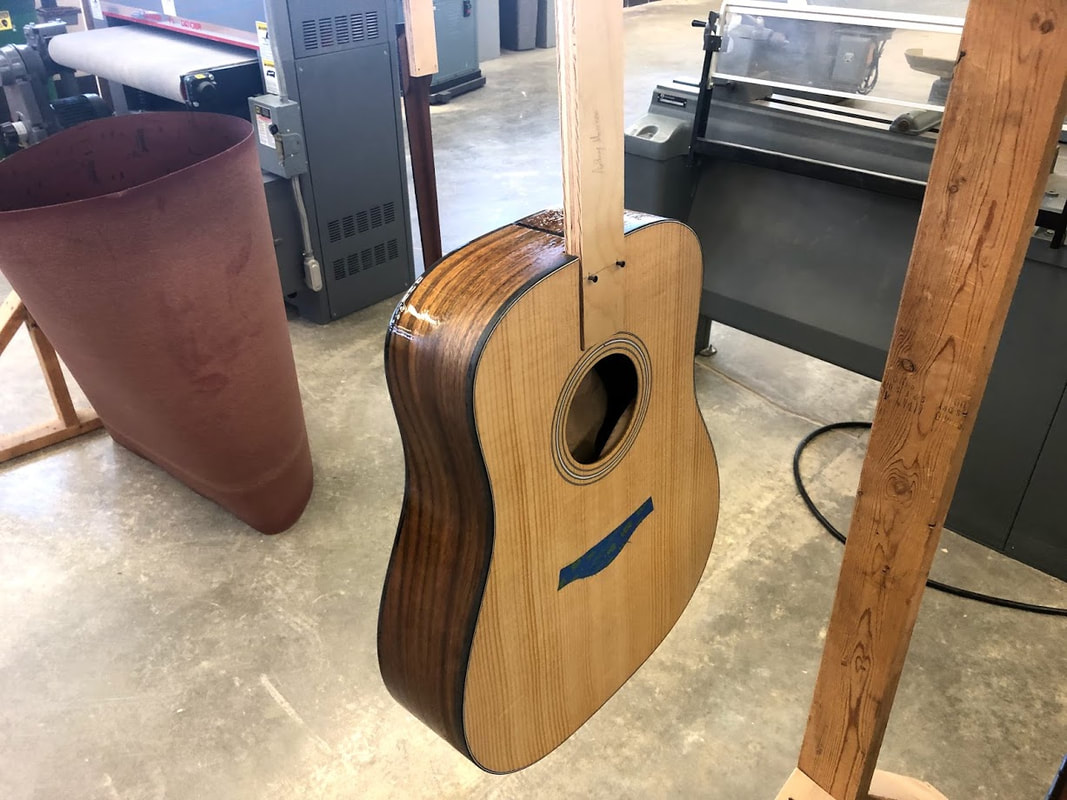
Guitar body hanging on the spray rack.
Guitar neck hanging on the spray rack.
First layer of finish dried on our guitar bodies.
First layer of finish dried on our guitar necks. (and Kyle)
Back of guitar body after rubbing off the first coat of finish.
Guitar parts hanging on the spray rack after second coat of finish.
Second and final layer of finish dried on the body of the guitar.
Second and final layer of finish dried on the neck of the guitar.
Front of neck with second and final layer of finish dried.
A mental image of what the guitar will look like.
Bridge tape taken off and slices cut into bridge area for more gluing surface area.
What the gluing process looks like for the bridge.
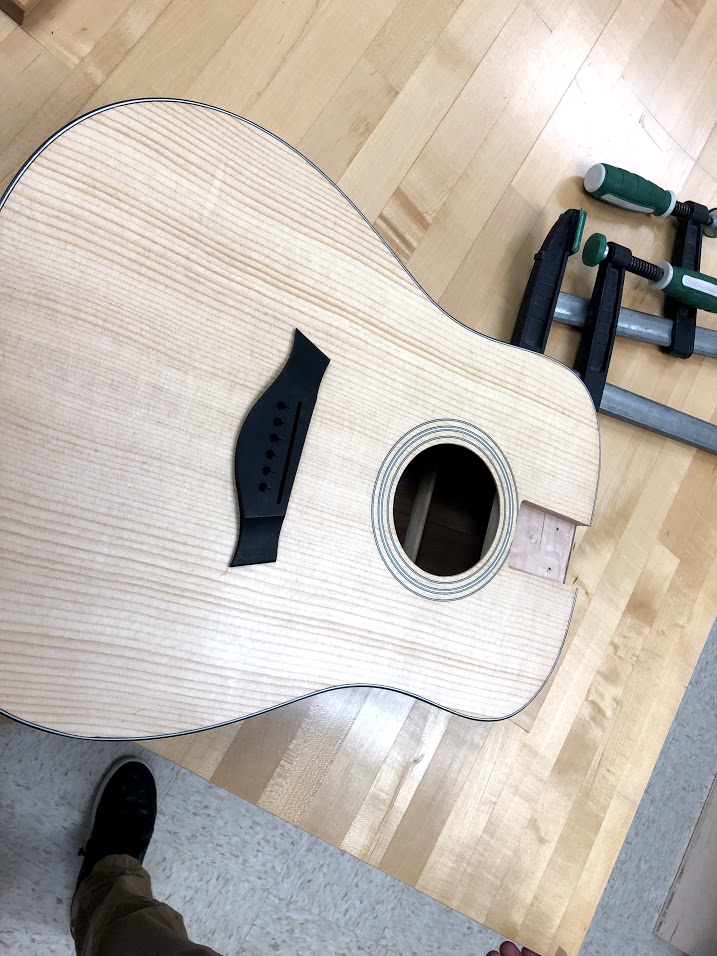
Bridge glued onto guitar body.
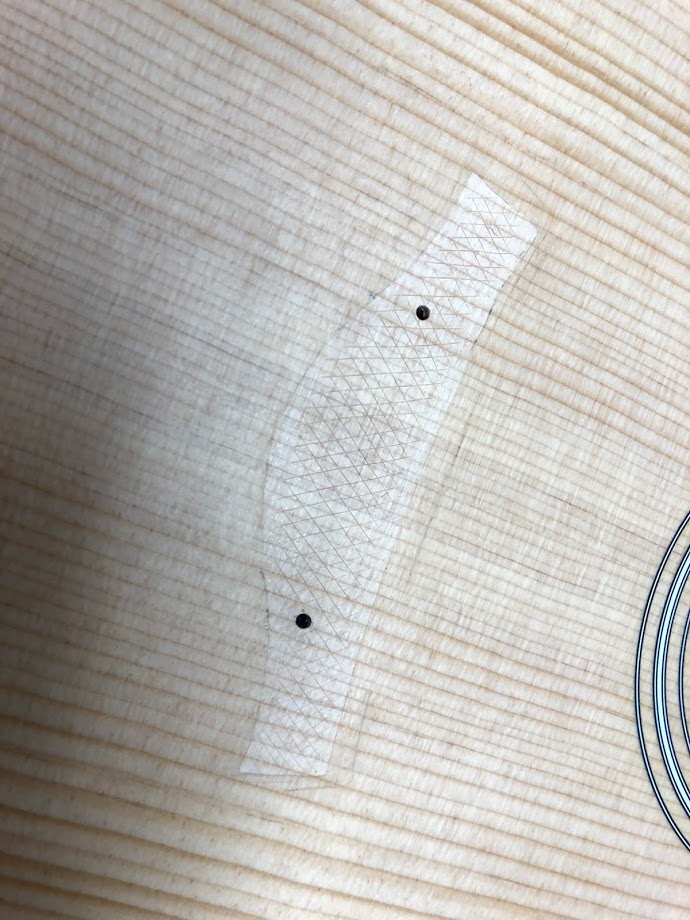
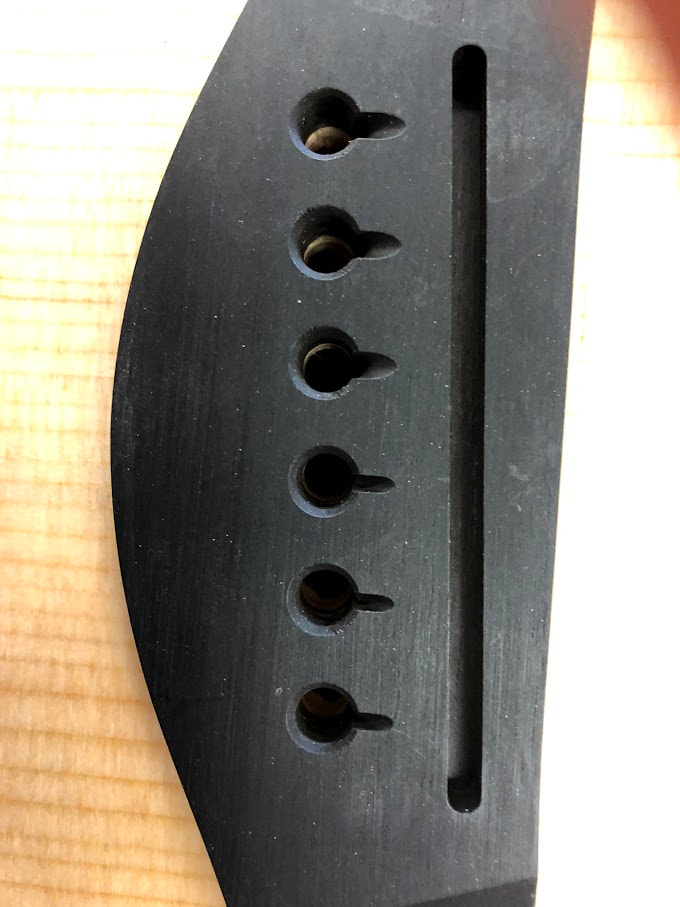
Holes drilled through top of the guitar body for the bridge pins.
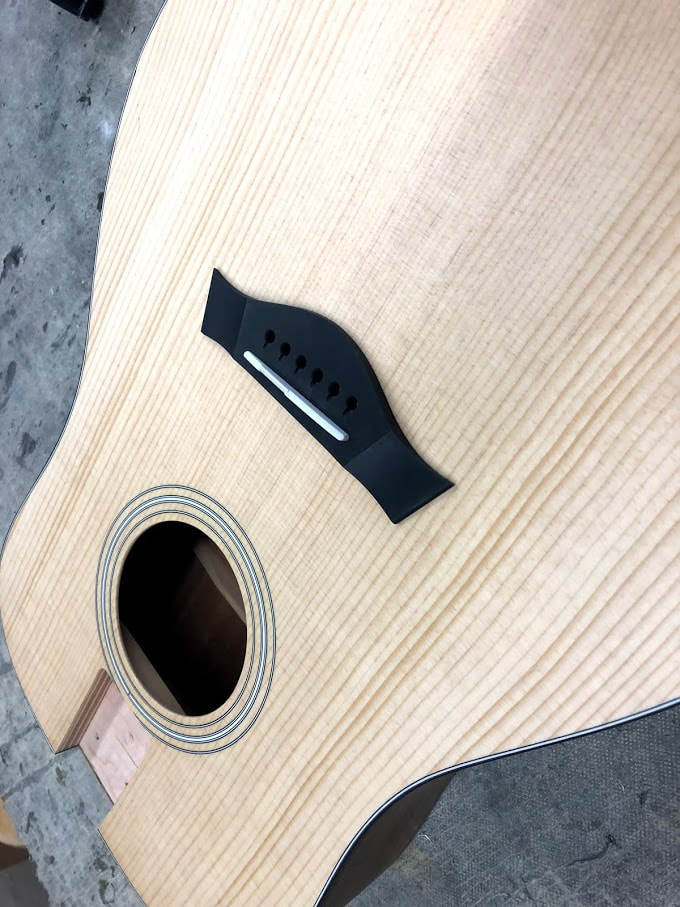
Saddle installed into the bridge.
Low E string being attached to the guitar for the first time.
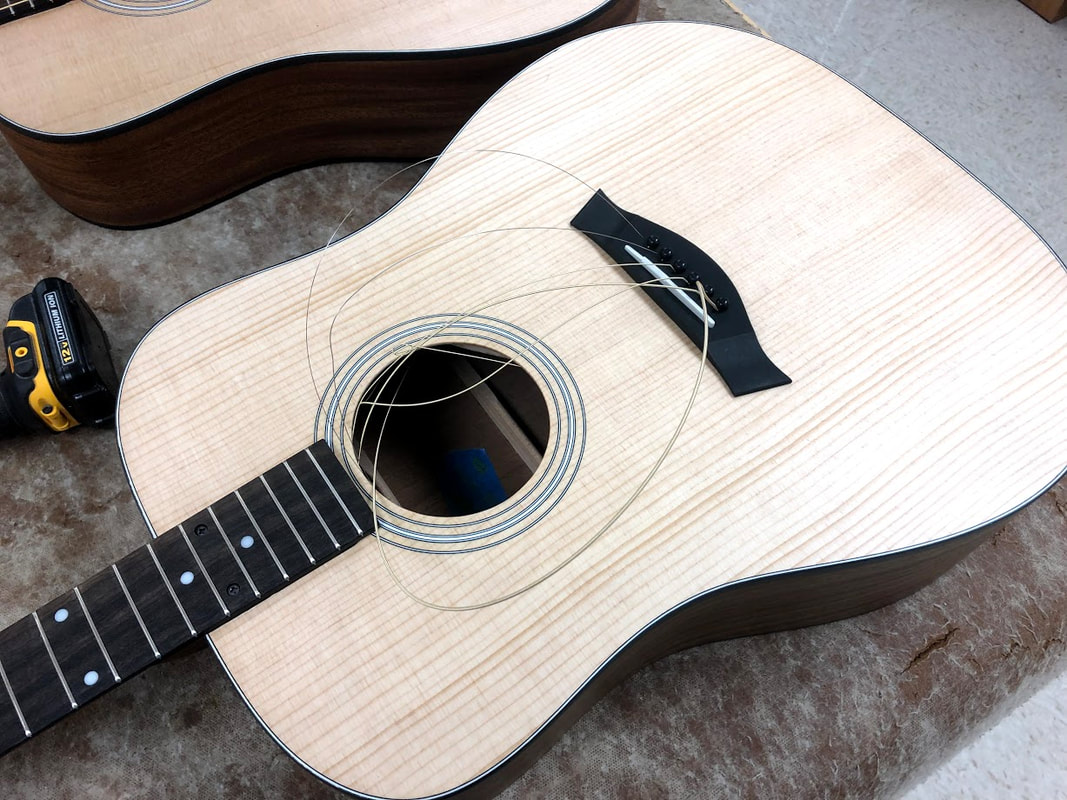
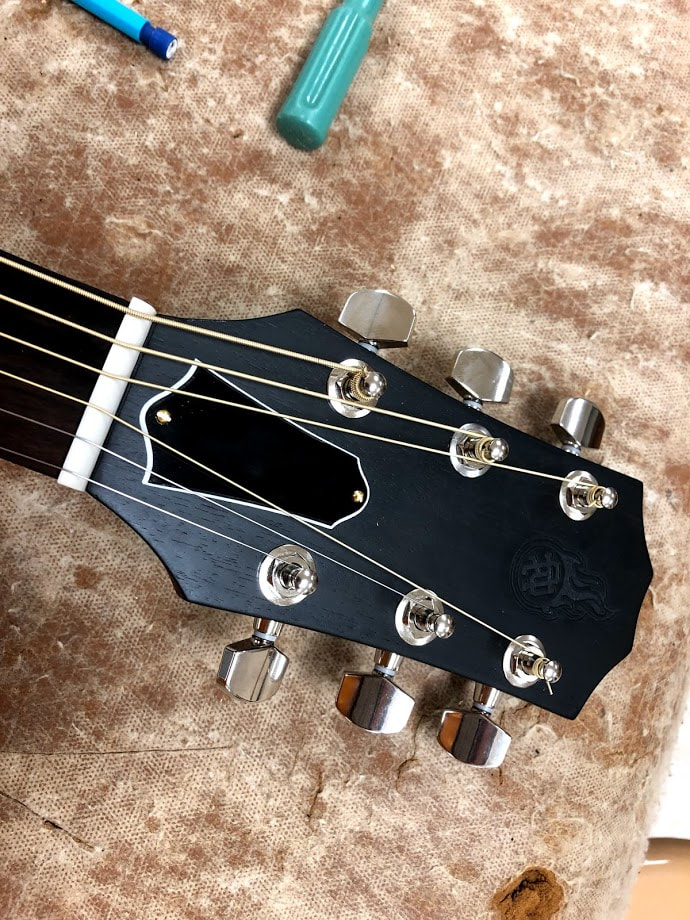
All of the strings ready to be strung up.
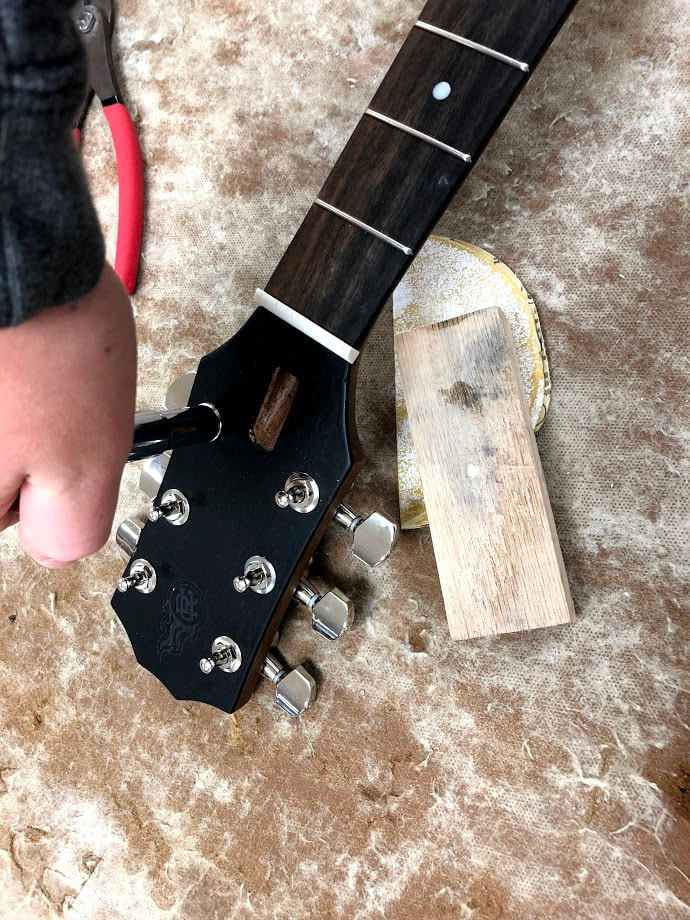
Tightening down the tuner heads.
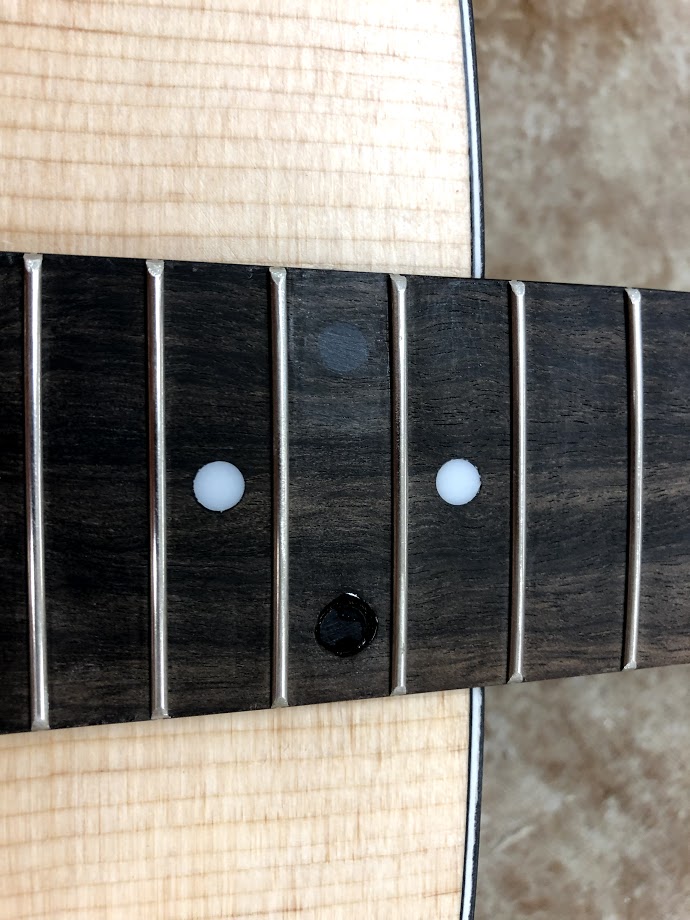
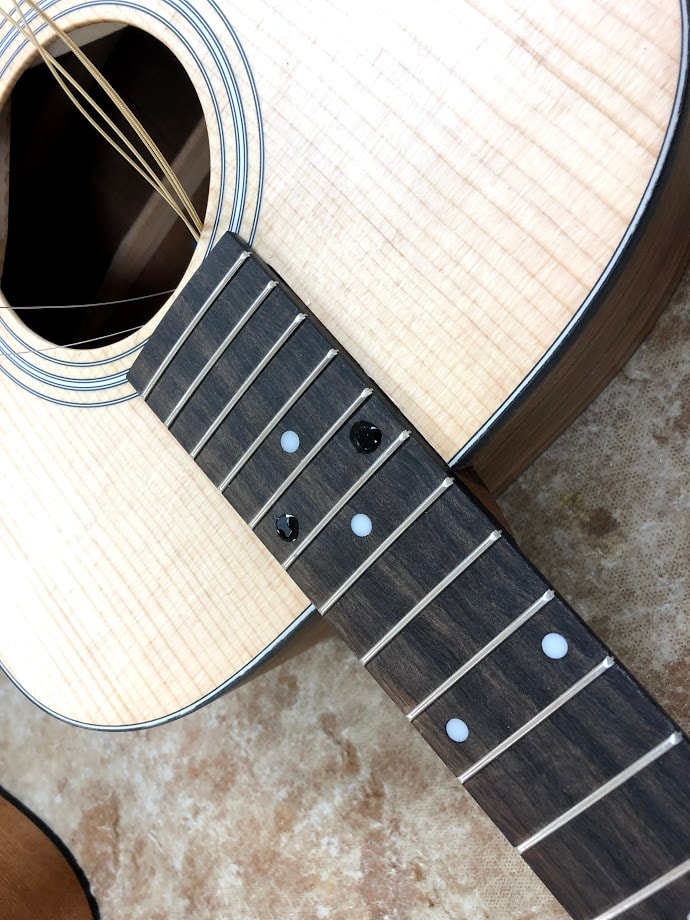
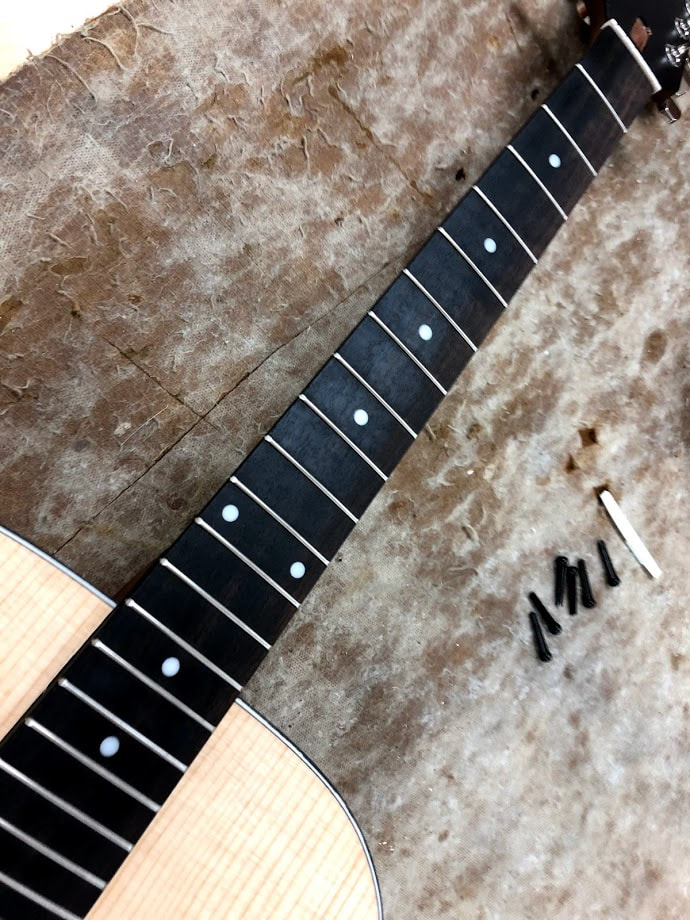
Black glue and dots to cover the drill holes for the neck.
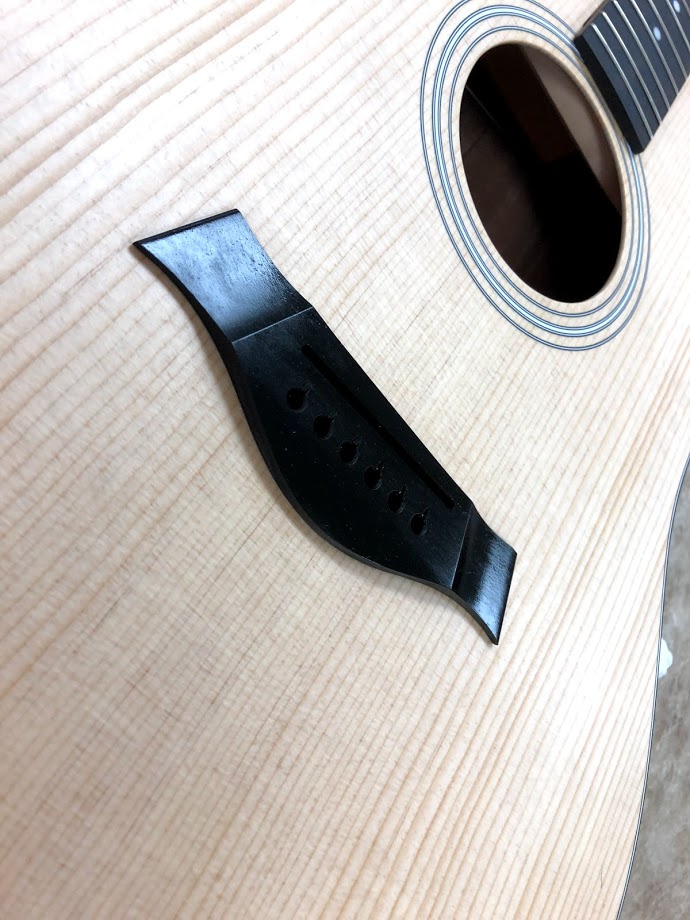
What the bridge looks after the oil has dried.
What the fret board looks like after the oil has dried.
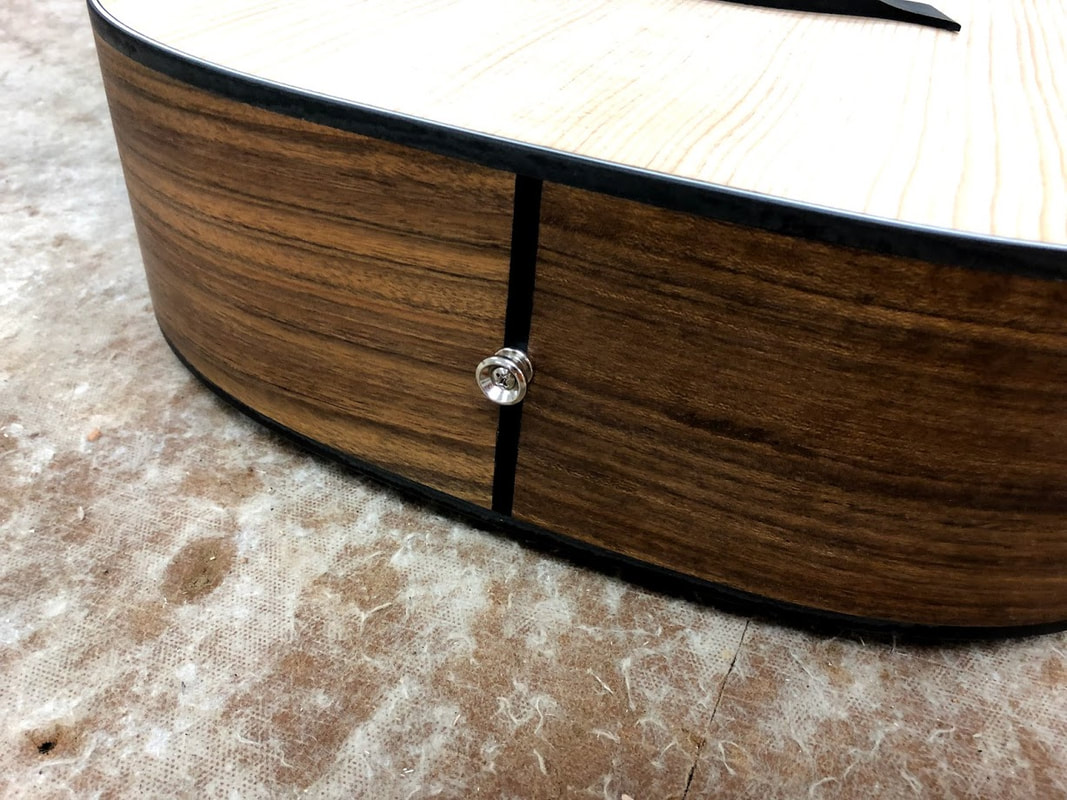
Drilling in the strap holder in the bottom of the guitar.
Drilling in the strap holder for the top of the guitar.
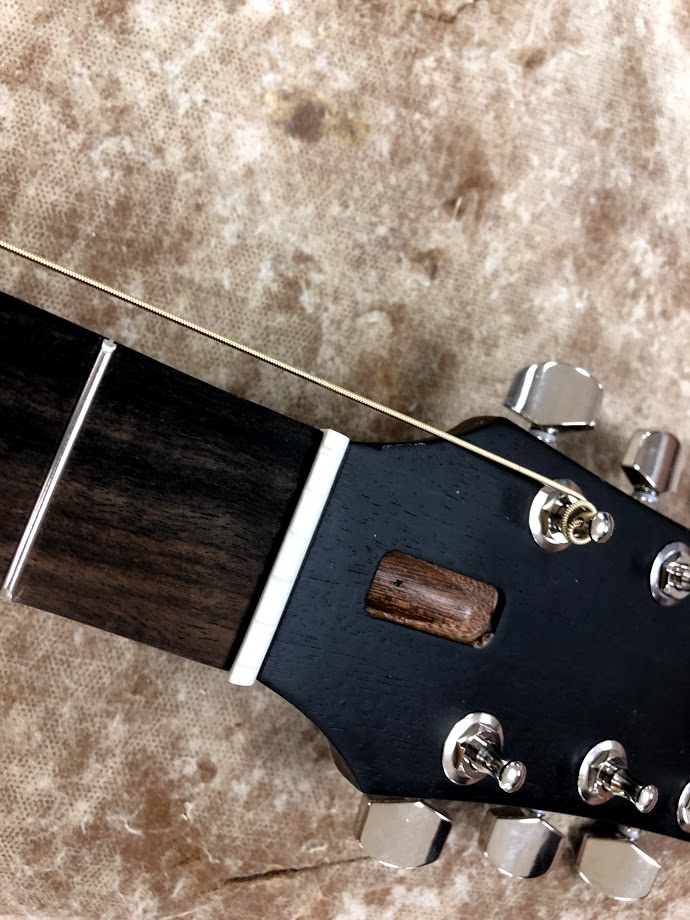
Screwing in the truss rod cover.
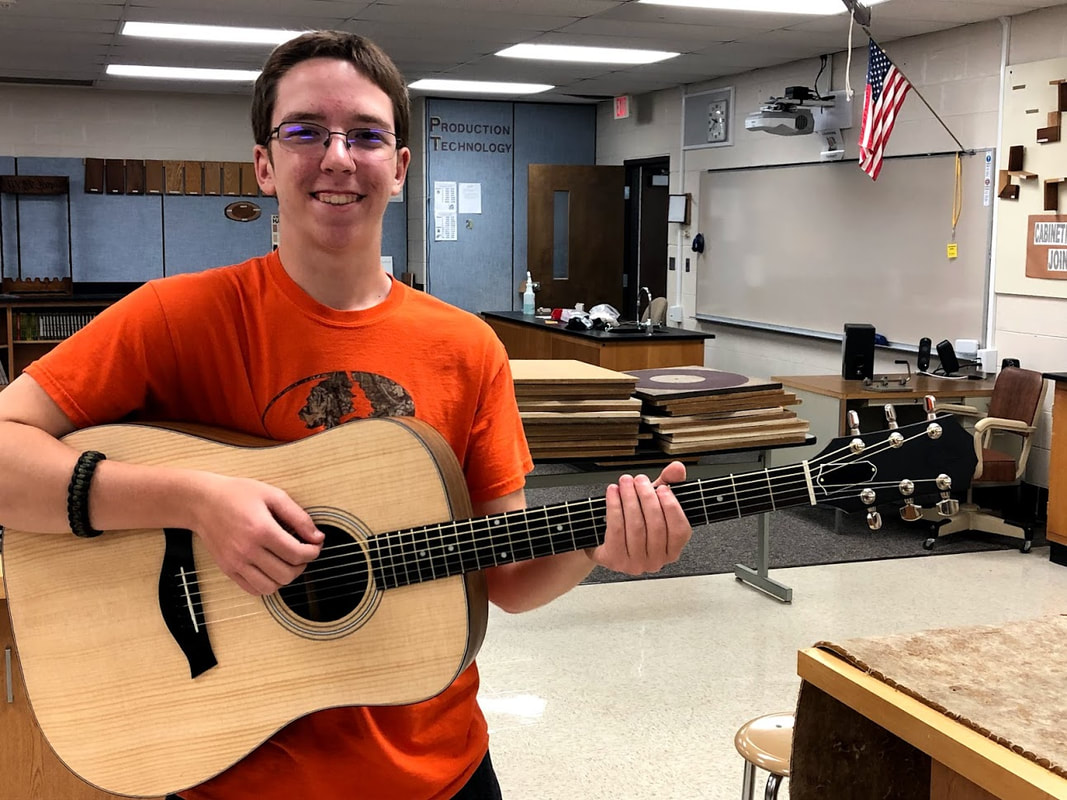
Me and the finished guitar.
The entire Stem 1 class and their guitars.
Home
RCHS
Orientation to Technology
Stem 1
Stem 2
About
Contact